AI Content Generator Pro #
Generate structured, SEO/GEO-minded articles and content in your chosen output language, with brand-aware imagery to match, from inside the same tool you design in.
A full, Photoshop-class image and design editor that lives right inside your WordPress media library: layers, masks, text, vectors, AI, dynamic templates and more. Everything runs on your own server. No image ever leaves your site unless you use a cloud AI provider on purpose.
What WunderPaint is, and who it is for.
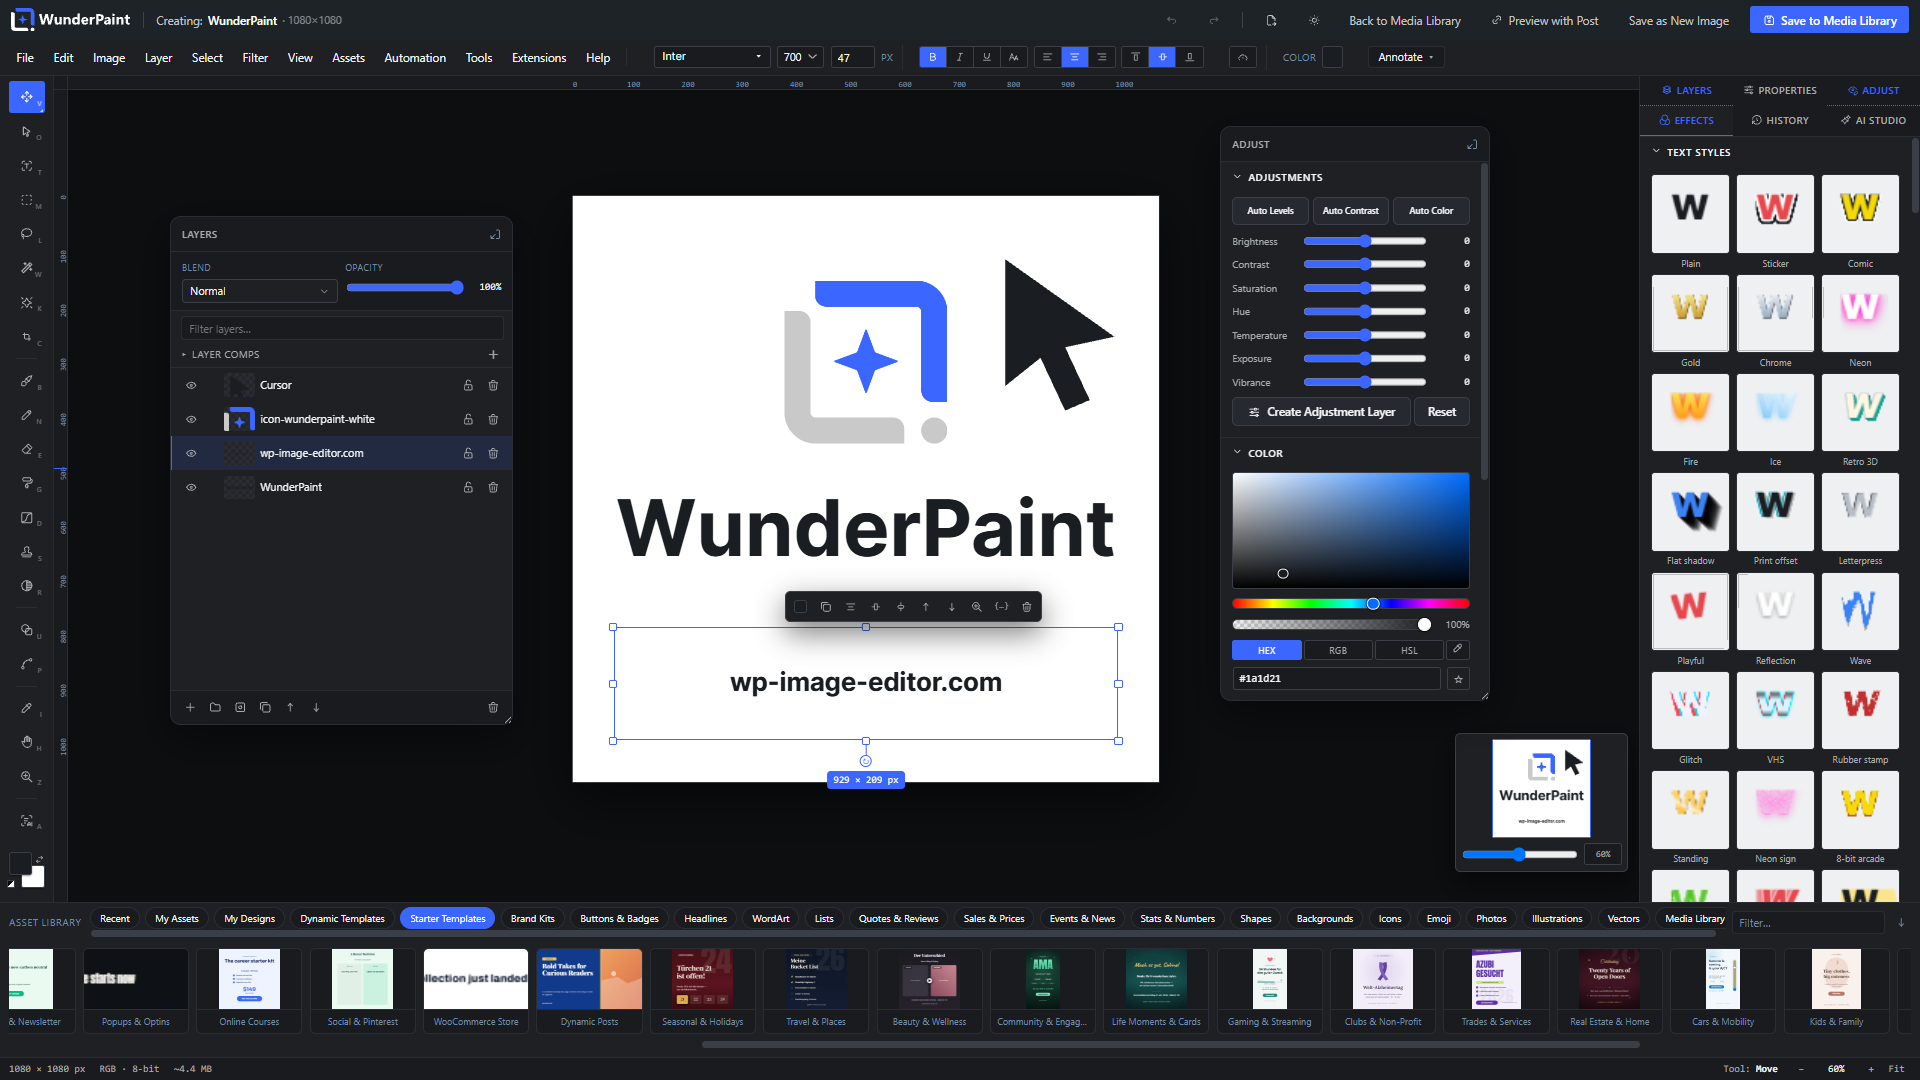
WunderPaint turns the WordPress media library into a real design tool. Instead of only cropping and rotating, you get a complete layer-based editor: paint and shapes, rich text and typography effects, non-destructive filters and adjustments, masks and blend modes, vector and PSD support, AI generation and editing, dynamic templates, and an animation timeline, all in a full-screen editor that opens on top of wp-admin.
WordPress 6.4+ and PHP 7.4+. Works in any modern browser. Local AI features download their models once to your own server and then run in the browser.
Several entry points, all opening the same full editor.
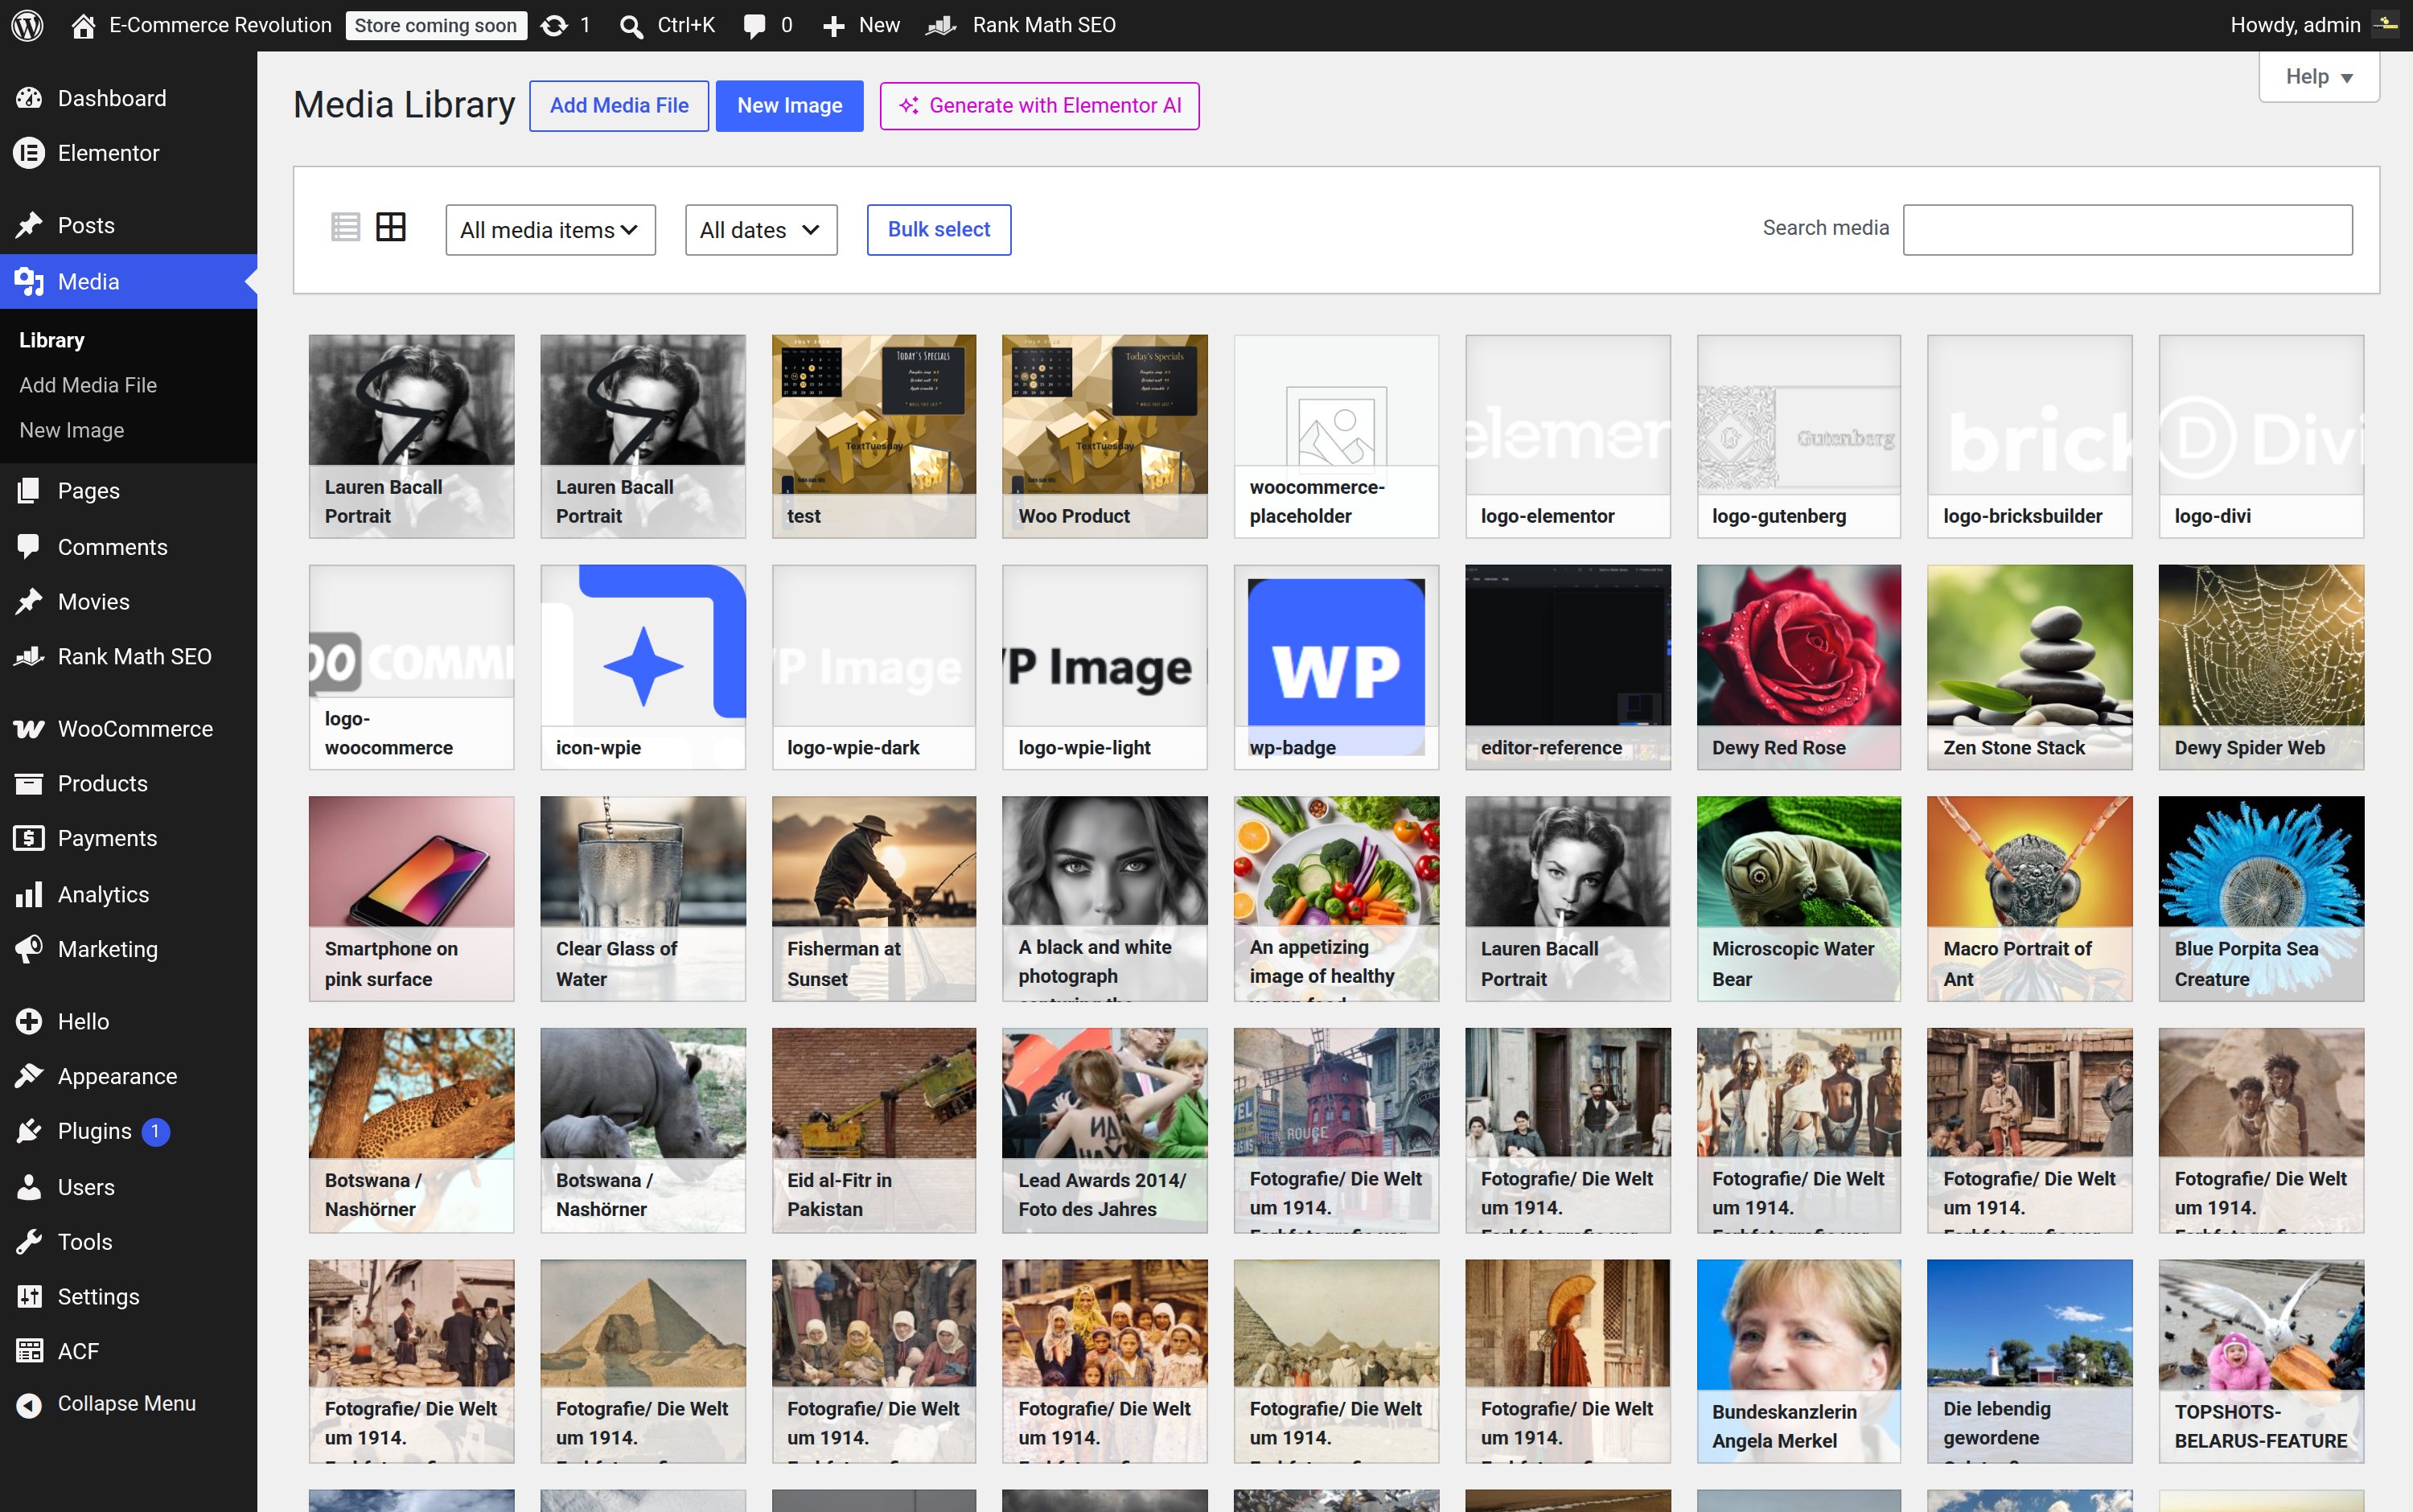
Start from a blank canvas via Media, then New Image or the admin bar’s + New, then Image. Pick a preset size (social formats, print, custom), a background, or generate a starting image with AI. Everything you add lands on layers you can rearrange, mask and restyle at any time.
Edit any image without leaving the page you are building.
The full editor opens as a seamless overlay right where you are working. When you are done, the edited image drops straight back into the element you started from, as a fresh, bound copy, so the original media stays untouched everywhere else on your site.
The WordPress media modal, so it covers the classic editor and any builder that uses it (Bricks, Divi, Beaver).
A button on every image control; applies back into the widget. Works with Elementor Free.
An Edit Image button on the core image block’s toolbar.
Because the copy keeps its editable project (see Re-editable images), you can re-open it later and your layers are still there.
Where everything lives.
Sixteen tools, each with a keyboard shortcut.
Move, align and transform layers.
Rectangular and elliptical selections.
Freehand selections.
Select by color, with tolerance and contiguity.
Crop with ratio and social-size presets.
Paint with pressure-like tips and presets.
Hard-edged pixel drawing.
Erase to true transparency.
Fill areas by color.
Linear and radial gradients with a preset library.
Copy pixels from one place to another.
Brush-based local blur or sharpen.
Click to drop a text box; type or paste.
Rectangles, ellipses, polygons, lines and more.
Bézier paths for vectors and text-on-path.
Pick colors, pan and zoom the canvas.
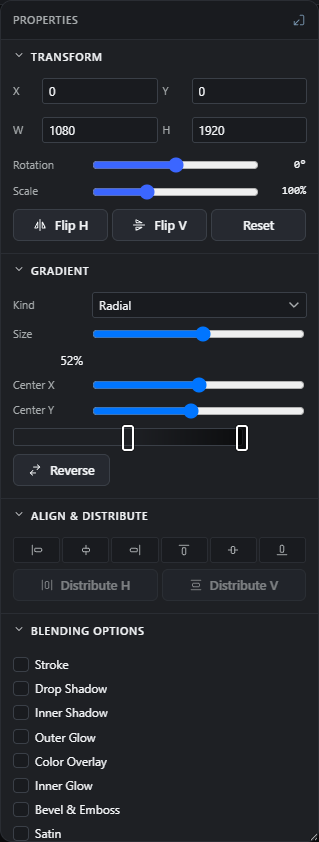
An optional beginner shell (Help, then Easy Mode) that swaps the tool rail and panels for a simpler set while keeping the exact same documents. Good for occasional users; power users stay in the full editor.
Non-destructive, Photoshop-style compositing.
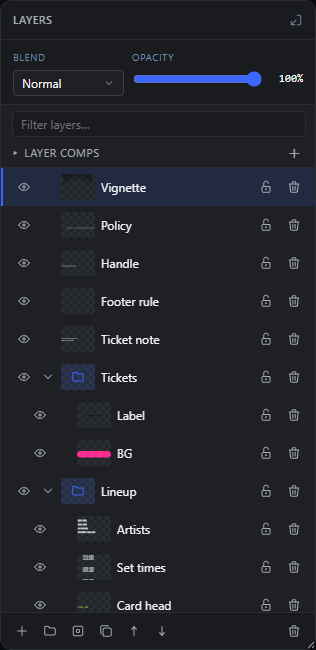
Adjustments are live and non-destructive: Brightness, Contrast, Exposure, Levels, Curves, Hue, Saturation, Vibrance, Temperature, plus shadow/highlight and white-balance controls.
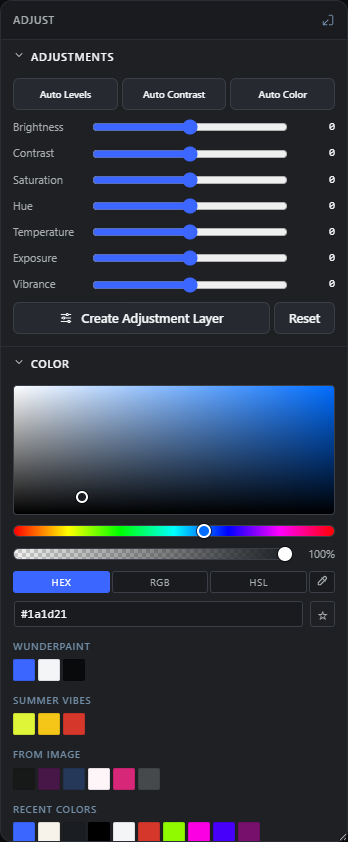
Filters are one-click preset looks. You can also load .cube color LUTs for cinematic grading, and save your own looks to share.
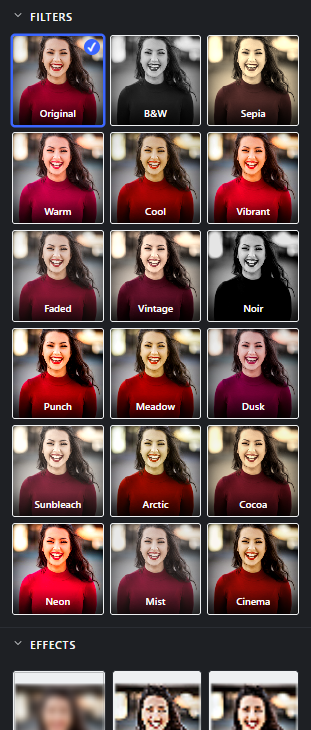
Over twenty pixel effects including Duotone, Vignette, Tilt-Shift, Halftone, Glitch, Glow, Scanlines, Grain and Color Noise, each with a live preview and adjustable settings. Combine them with LUTs and layer styles for a signature look.
A real type engine, not just a text box.
{{tokens}} like {{post.title}}
into text; they resolve per post when a template runs.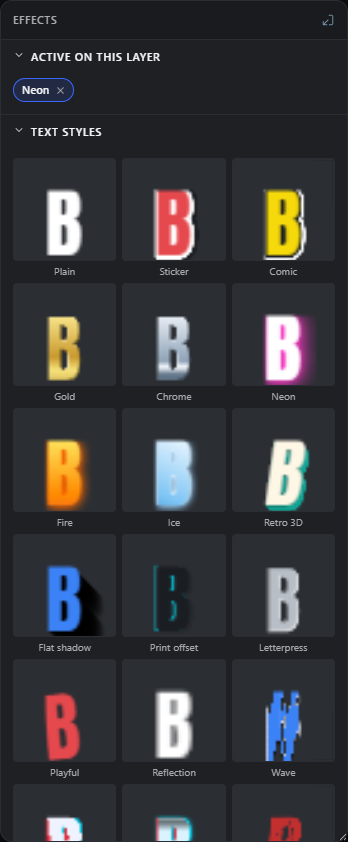
Marquee, lasso and magic wand, plus Smart Select (a local AI subject / region selector). Feather, invert, grow, save and load selections; turn a selection into a mask, a new layer, or a crop.
Cloud generation when you want it, on-device AI when you do not.
Create new images or edit existing ones with Google Gemini / Imagen and OpenAI. You enter your own API keys in Settings; prompts and (for edits) the image are sent to the provider you choose, only when you trigger an action. Keys stay on your server.
Local models download once to your own server (under uploads/wpie-models) and then
run in the browser, so nothing is sent to a third party at run time.
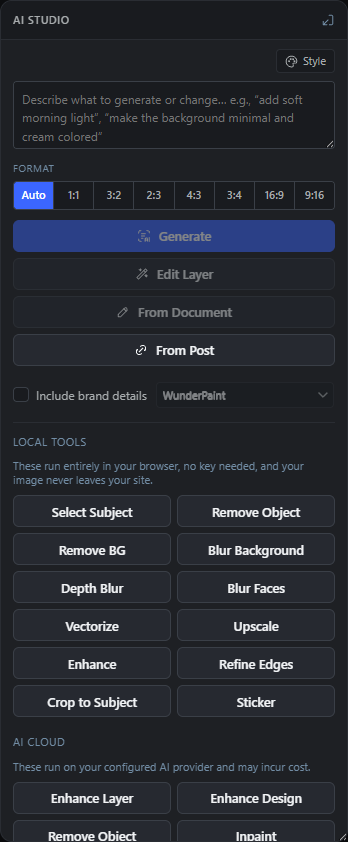
Describe what you want and the model art-directs three genuinely different layouts, rendered as fully editable layers you can then refine.
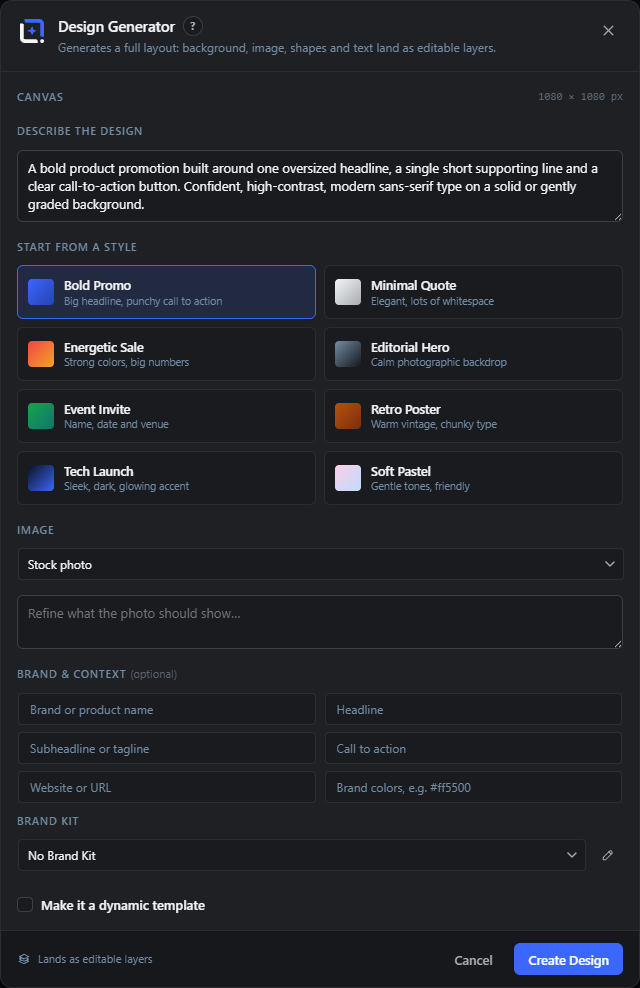
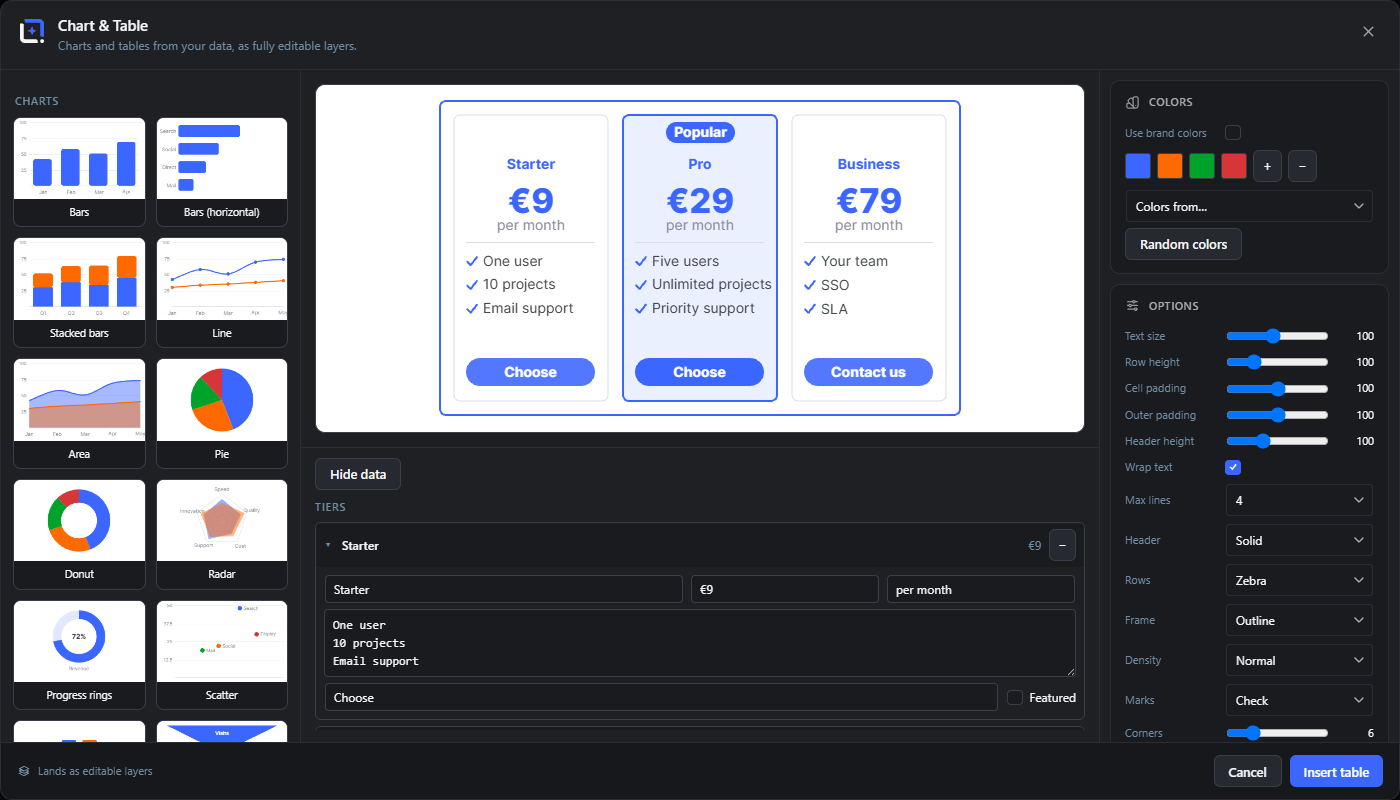
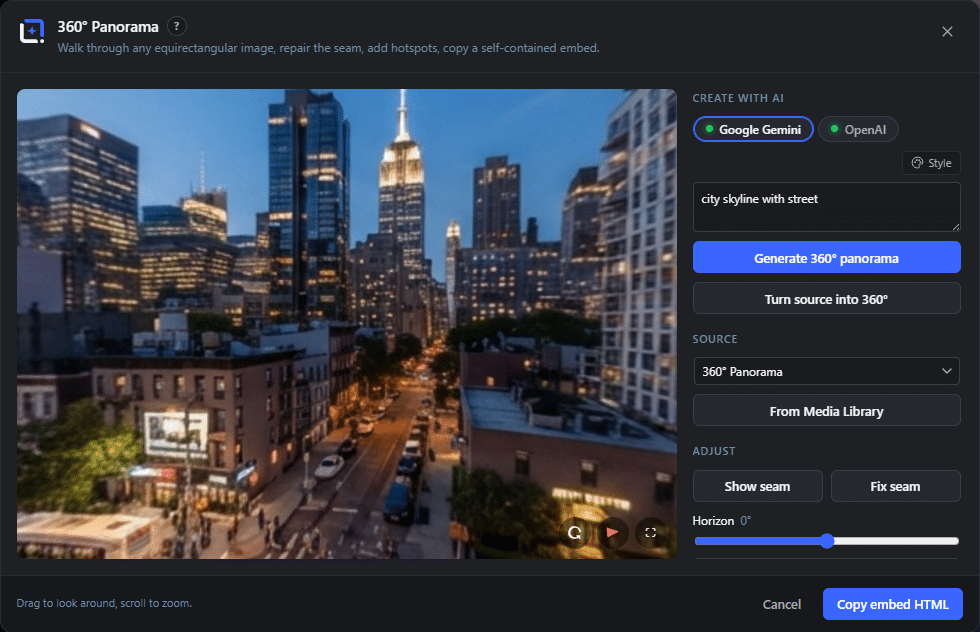
Small, focused studios under Tools. Each solves one job and returns editable layers.
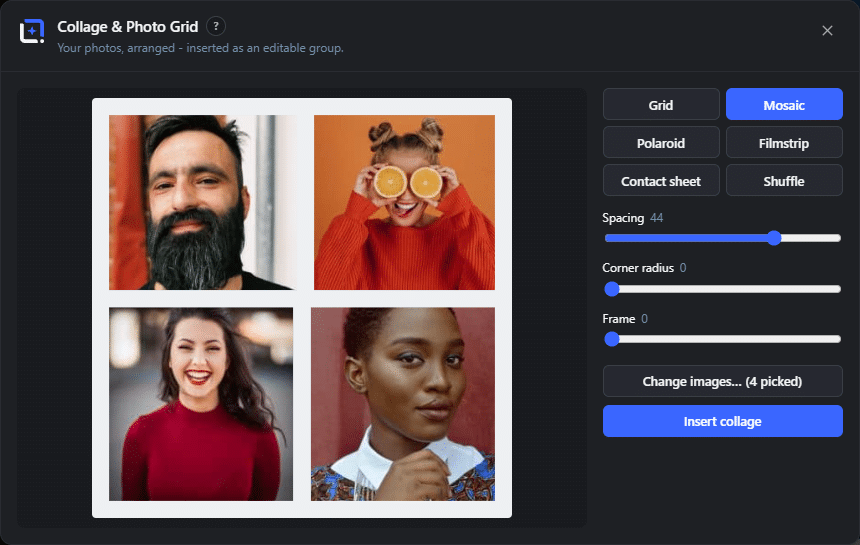
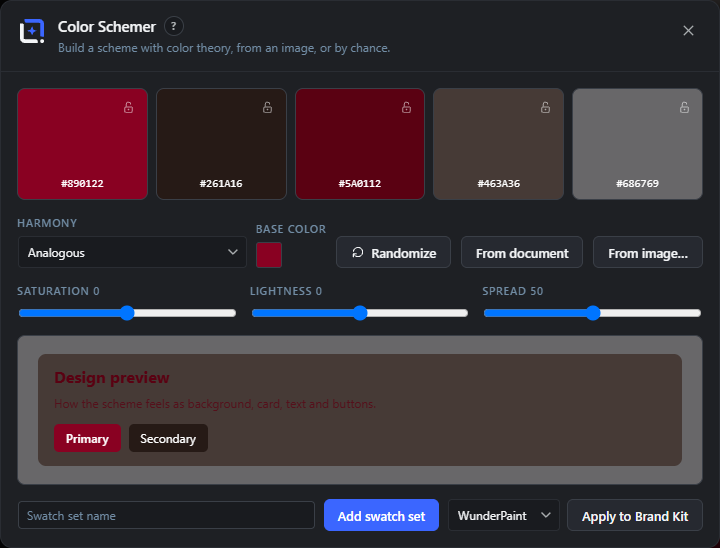
Store your colors, fonts and logo in a Brand Kit and apply them across designs. Build a color palette from any image, keep a gradient preset library, save custom pattern tiles, and organize reusable assets. (The Pro add-on unlocks multiple brand kits.)
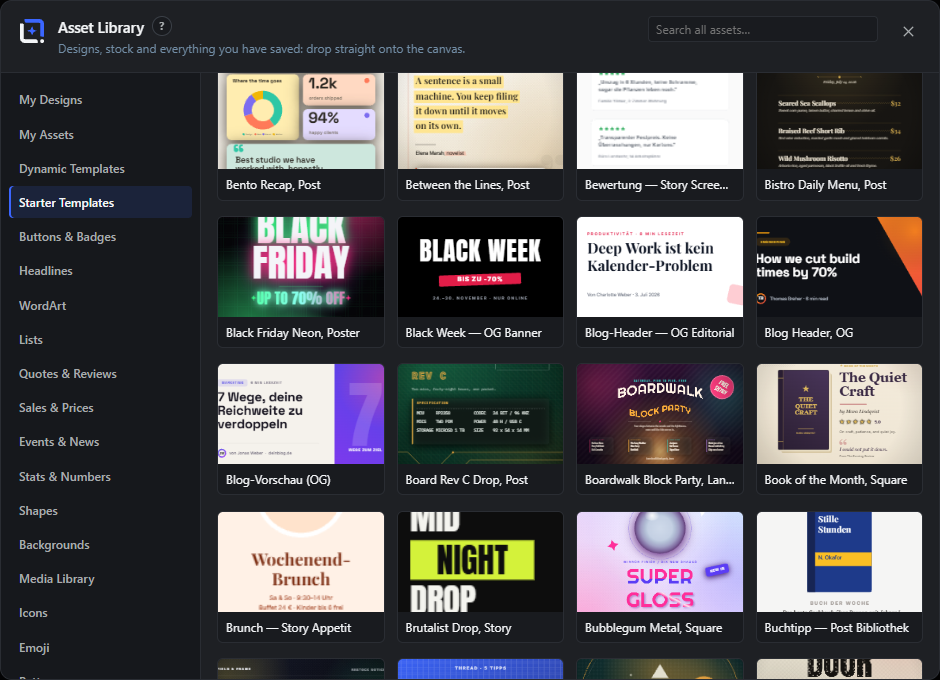
A full-screen home for your whole media library: search by what images actually show, organize with folders and tags, fix metadata in bulk, and reclaim space.
Open it from the editor's Tools menu (Manage Media Library). It sits on top of the standard WordPress library and adds the tools a real image workflow needs, without sending anything to a third party unless you ask it to.
Select one image or a hundred and let the Metadata Assistant generate titles, alt text, captions, tags and a mood, either on-device or through your cloud provider. You can also edit metadata by hand, auto-name files, and rename by pattern (with a counter and variables). Great for clearing a backlog of “(no alt text)” images.
Group near-identical images so you can keep one and trash the rest.
Surface attachments whose files are missing or unreadable.
Re-encode oversized images (max 2048 px, WebP) to reclaim space.
Rebuild the intermediate sizes for selected images.
See what is taking room and clear what you no longer need.
Set titles from a pattern
using ### counters and variables.
From the grid you can also set a featured image, insert an image into the open design, move a selection to the trash (restorable), or run a smarter upload that can describe images (alt, caption, tags) as they import.
The eye icon on a tile opens a large preview over the manager. Arrows fixed to the left and right edge of the window step through the current results, so you can click through a folder without moving the pointer, and the arrow keys do the same. From there you can insert the image into your design, copy its file URL, download the original, or jump straight into its detail view.
An image's detail view goes further: fix its metadata, replace the file while every link to it stays valid, or recrop its generated sizes by hand, per size, instead of living with the dead-center crop WordPress makes. Only the size files are rewritten, the original is never touched.
The detail view's File data tab reads what the file itself carries, which is not the same as what the library shows you. A photo from a phone records the camera and lens, the exposure, the software that has touched it since, and usually the exact spot on earth it was taken at. None of that appears anywhere in WordPress, and the original file stays reachable under its own address once you publish it.
Coordinates are turned into a place name and a rough distance, worked out on your own server against the place index that ships with the plugin, so finding out where a photo was taken never contacts an outside service. Two buttons take things back out again: Remove location leaves the camera details alone, Remove all metadata clears every embedded block. Both run on the original and on every size generated from it, and neither re-saves the picture, so image quality is exactly as before. The previous files are kept as a version you can restore.
Your theme almost always serves a generated size, and those lose their metadata when WordPress creates them. Location data therefore tends to survive in the original file, which is the one reachable under its own URL.
Search, similar images and auto-tagging use a self-hosted model that downloads once to your server. Cloud description is optional and only runs when you choose it (provider costs apply).
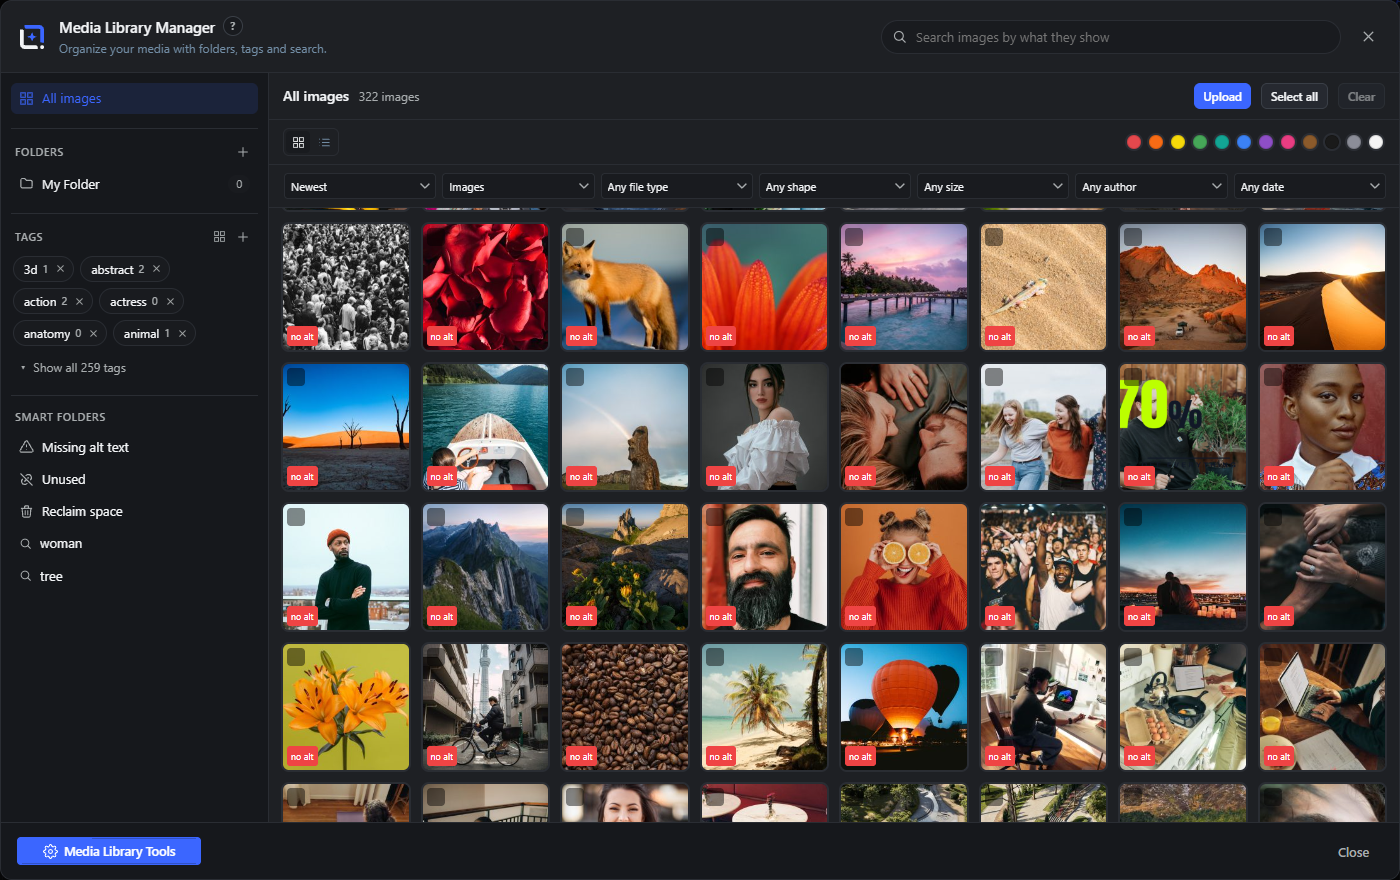
Save a design as a reusable template, and turn text and image layers into dynamic
placeholders with {{tokens}} and bindings: post title, excerpt, author,
featured image, WooCommerce product name, price, image and more. The design becomes a reusable
layout; the content fills in per post.
Running templates automatically across many posts or products (and generating featured images from post content) is part of the Pro add-on, see Automation.
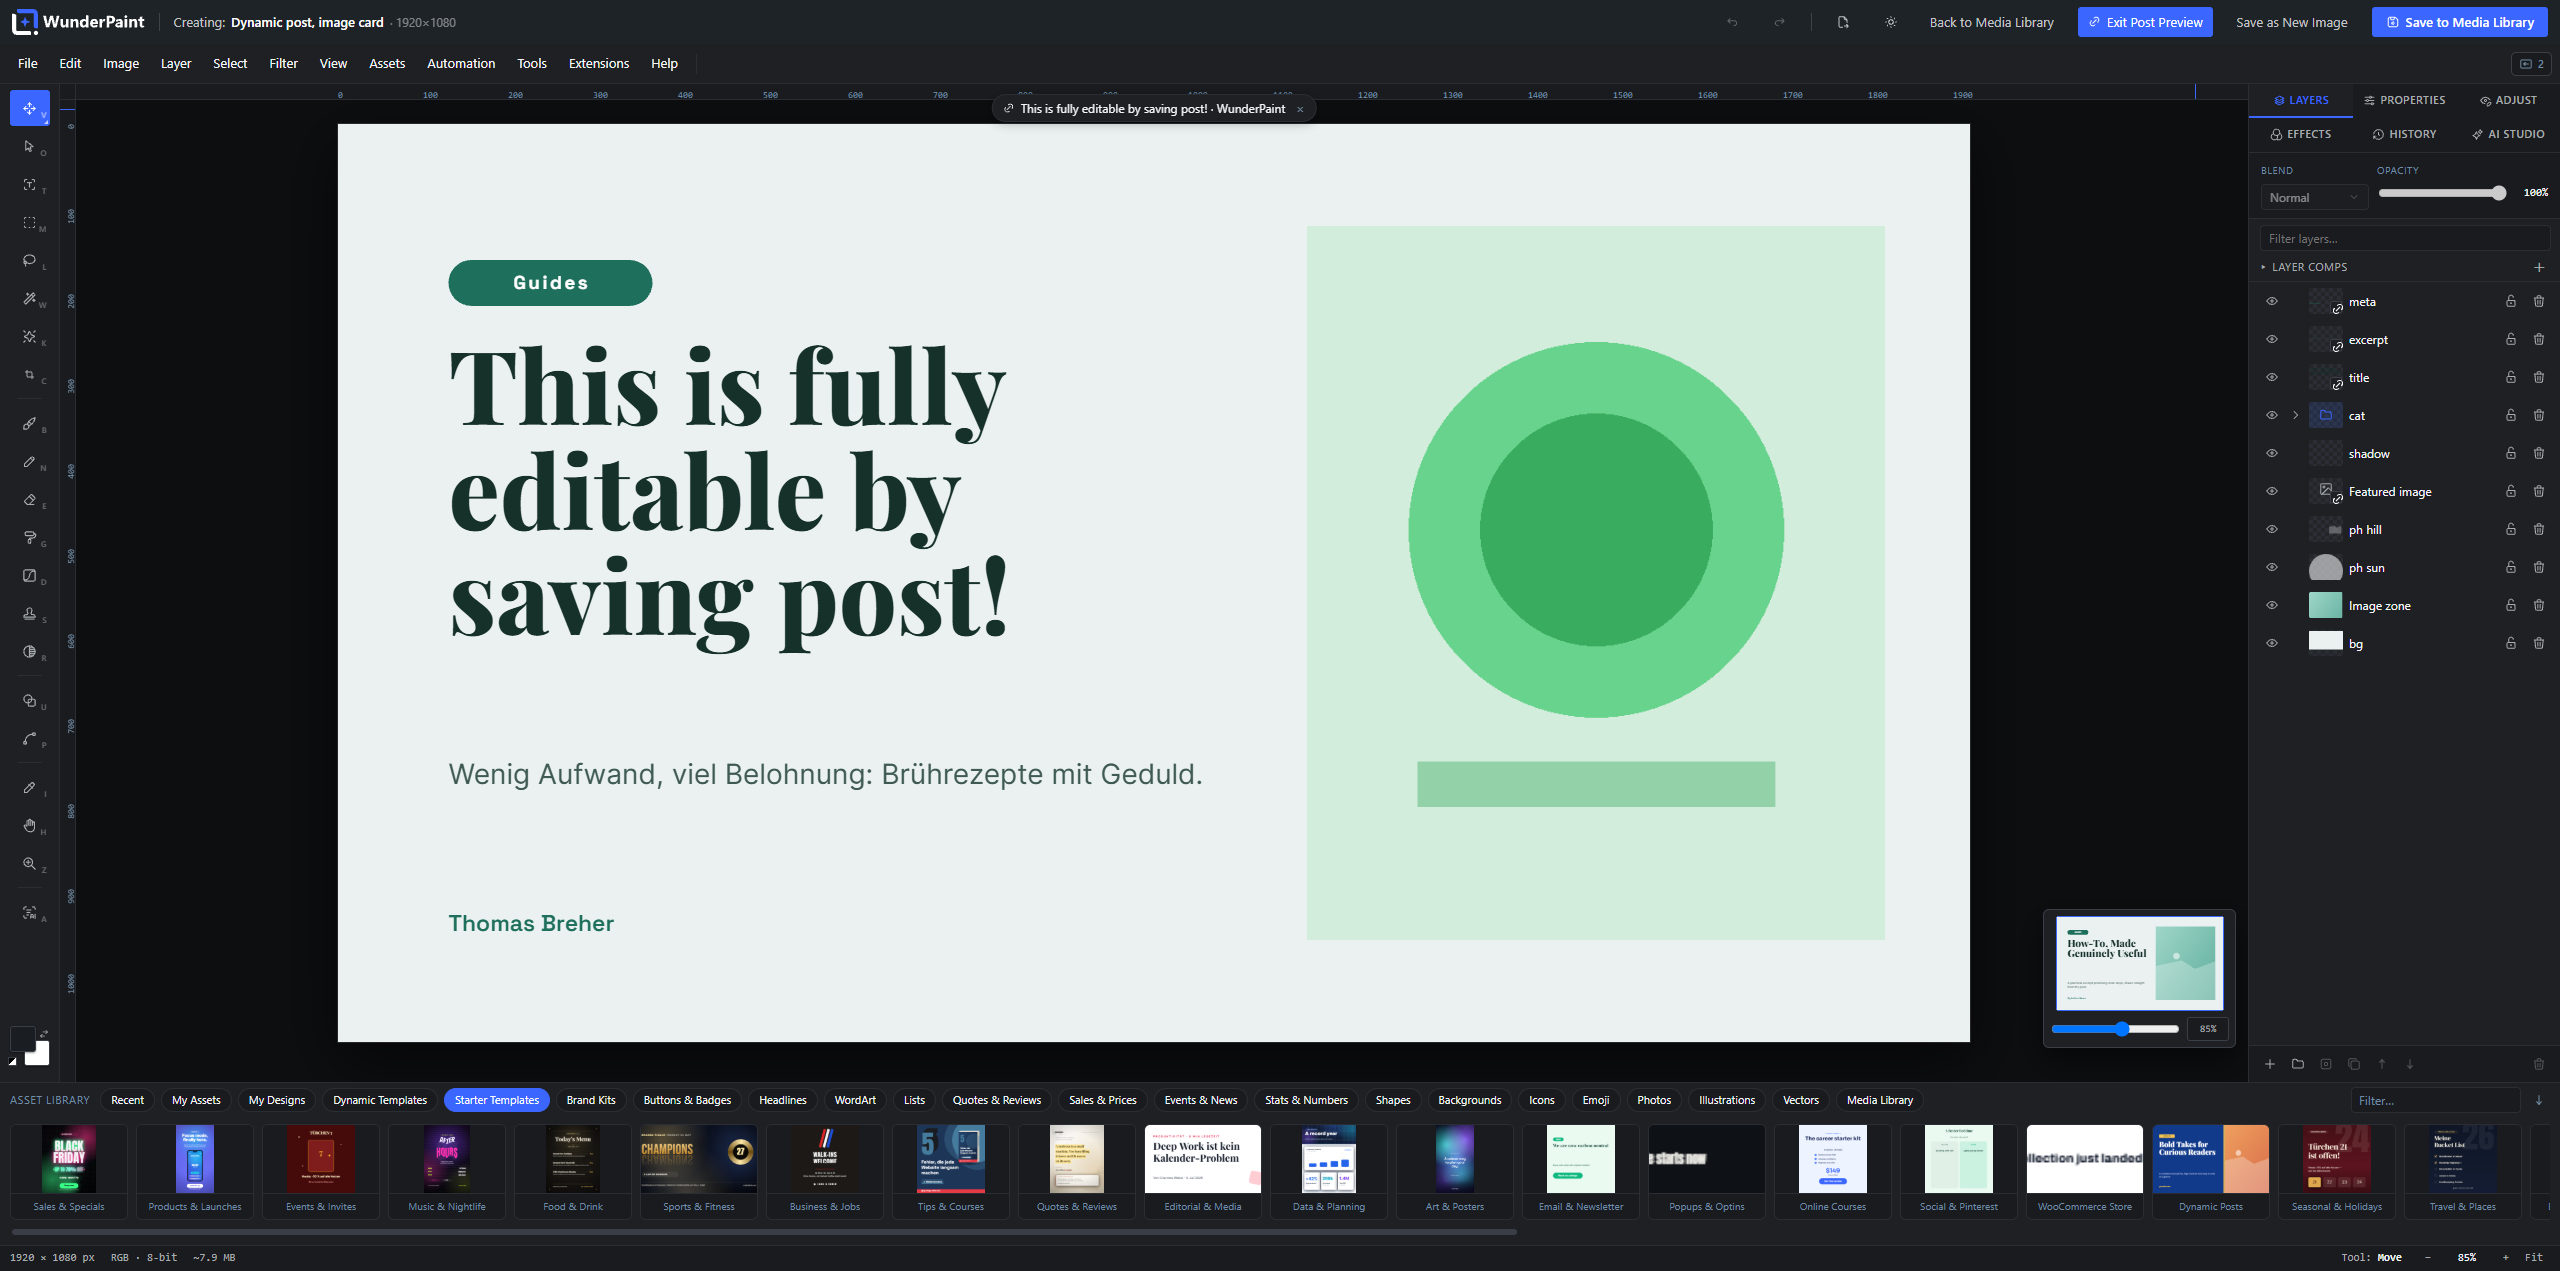
.wpie project file.The save and export dialog offers the three official emblems the European Commission publishes: a basic one, Fully AI-generated and Partially AI-modified, each in black, white and half-opacity versions. The list starts on None, and nothing is ever applied unless you pick a motif yourself. The editor does not inspect your design and never suggests one, because the disclosure rules are about content that could be taken for a real photograph, not about every illustration, and only you know which one you made.
A second box, empty unless you tick it, additionally writes the matching IPTC digital source type into the file. That is the vocabulary picture agencies and image search read, so a picture can declare its origin even where the emblem itself has been cropped away. The same emblems also sit in the Asset Library under Brand Kits, if you would rather place one as an ordinary layer and position it yourself.
Your layers come back, even after the image is inserted as a flat PNG.
When you save, the editor also stores the raw, editable layer project alongside the attachment (as long as “Keep editable project file” is on, which it is by default). The image that appears on your site is the flat render; the layers live with the attachment.
Click Edit Image on that image later, from the media library, Gutenberg, Elementor or any picker, and the editor restores your full layered version, exactly where you left off. This works for the bound copies created by edit-in-place too.
A raw photo that was never opened in the editor starts flat the first time (there are no layers to restore). From the first save onward, it is layer-editable.
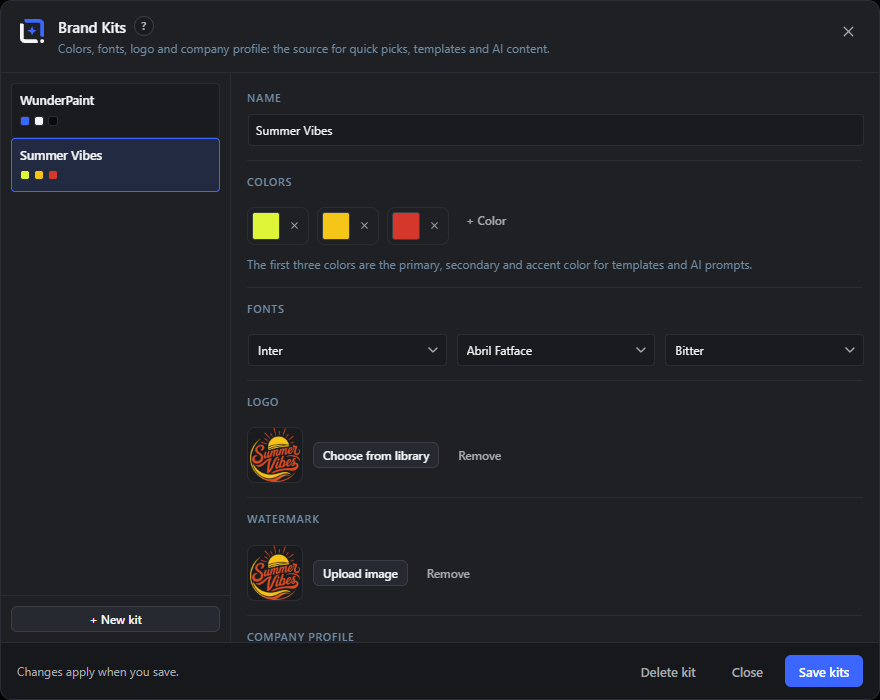
Define your corporate identity once, then reach the same colors, fonts and logo in every design, in the AI, and in the extensions.
A kit can also hold named variables (address, slogan, social handles). Those fill the matching brand bindings in your templates, so one kit keeps both the look and the details in sync.
One brand kit is free. Several kits, for agencies or multi-brand sites, are Pro.
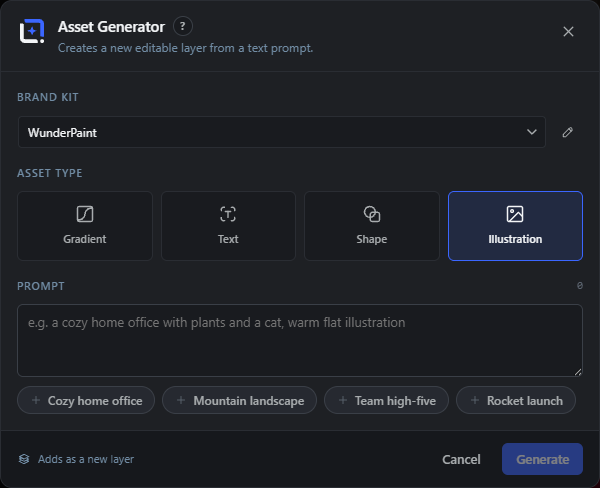
Make generated backgrounds and images match your brand automatically, instead of correcting a generic stock look afterwards.
A generated hero background, a product scene or an AI infographic that already looks like your brand, because the style guide travelled with the prompt.
Cloud AI generation uses your own provider key. The brand steering is assembled in the browser before the prompt is sent.
Design once, and let each post or product fill in its own text and images.
{…} in the text properties), or type tokens directly, for example {{post.title}}. Available variables include {{post.title}}, {{post.url}}, {{post.excerpt}}, {{post.date}}, {{post.category}}, {{post.tags}}, {{post.readingTime}}, {{author.name}}, and the WooCommerce fields {{wc.name}}, {{wc.price}}, {{wc.discount}}, {{wc.sku}}, {{wc.stock}}, {{wc.rating}}.{{wc.image}}. For bound text, set the Min/Max font-size so it auto-fits.Variables resolve per post when a template runs. If every variable in a text layer is empty, that layer hides itself, so a template degrades cleanly on posts that lack a field.
Building templates and using {{tokens}} is free. Running them automatically across many posts or products is the Pro Automation.
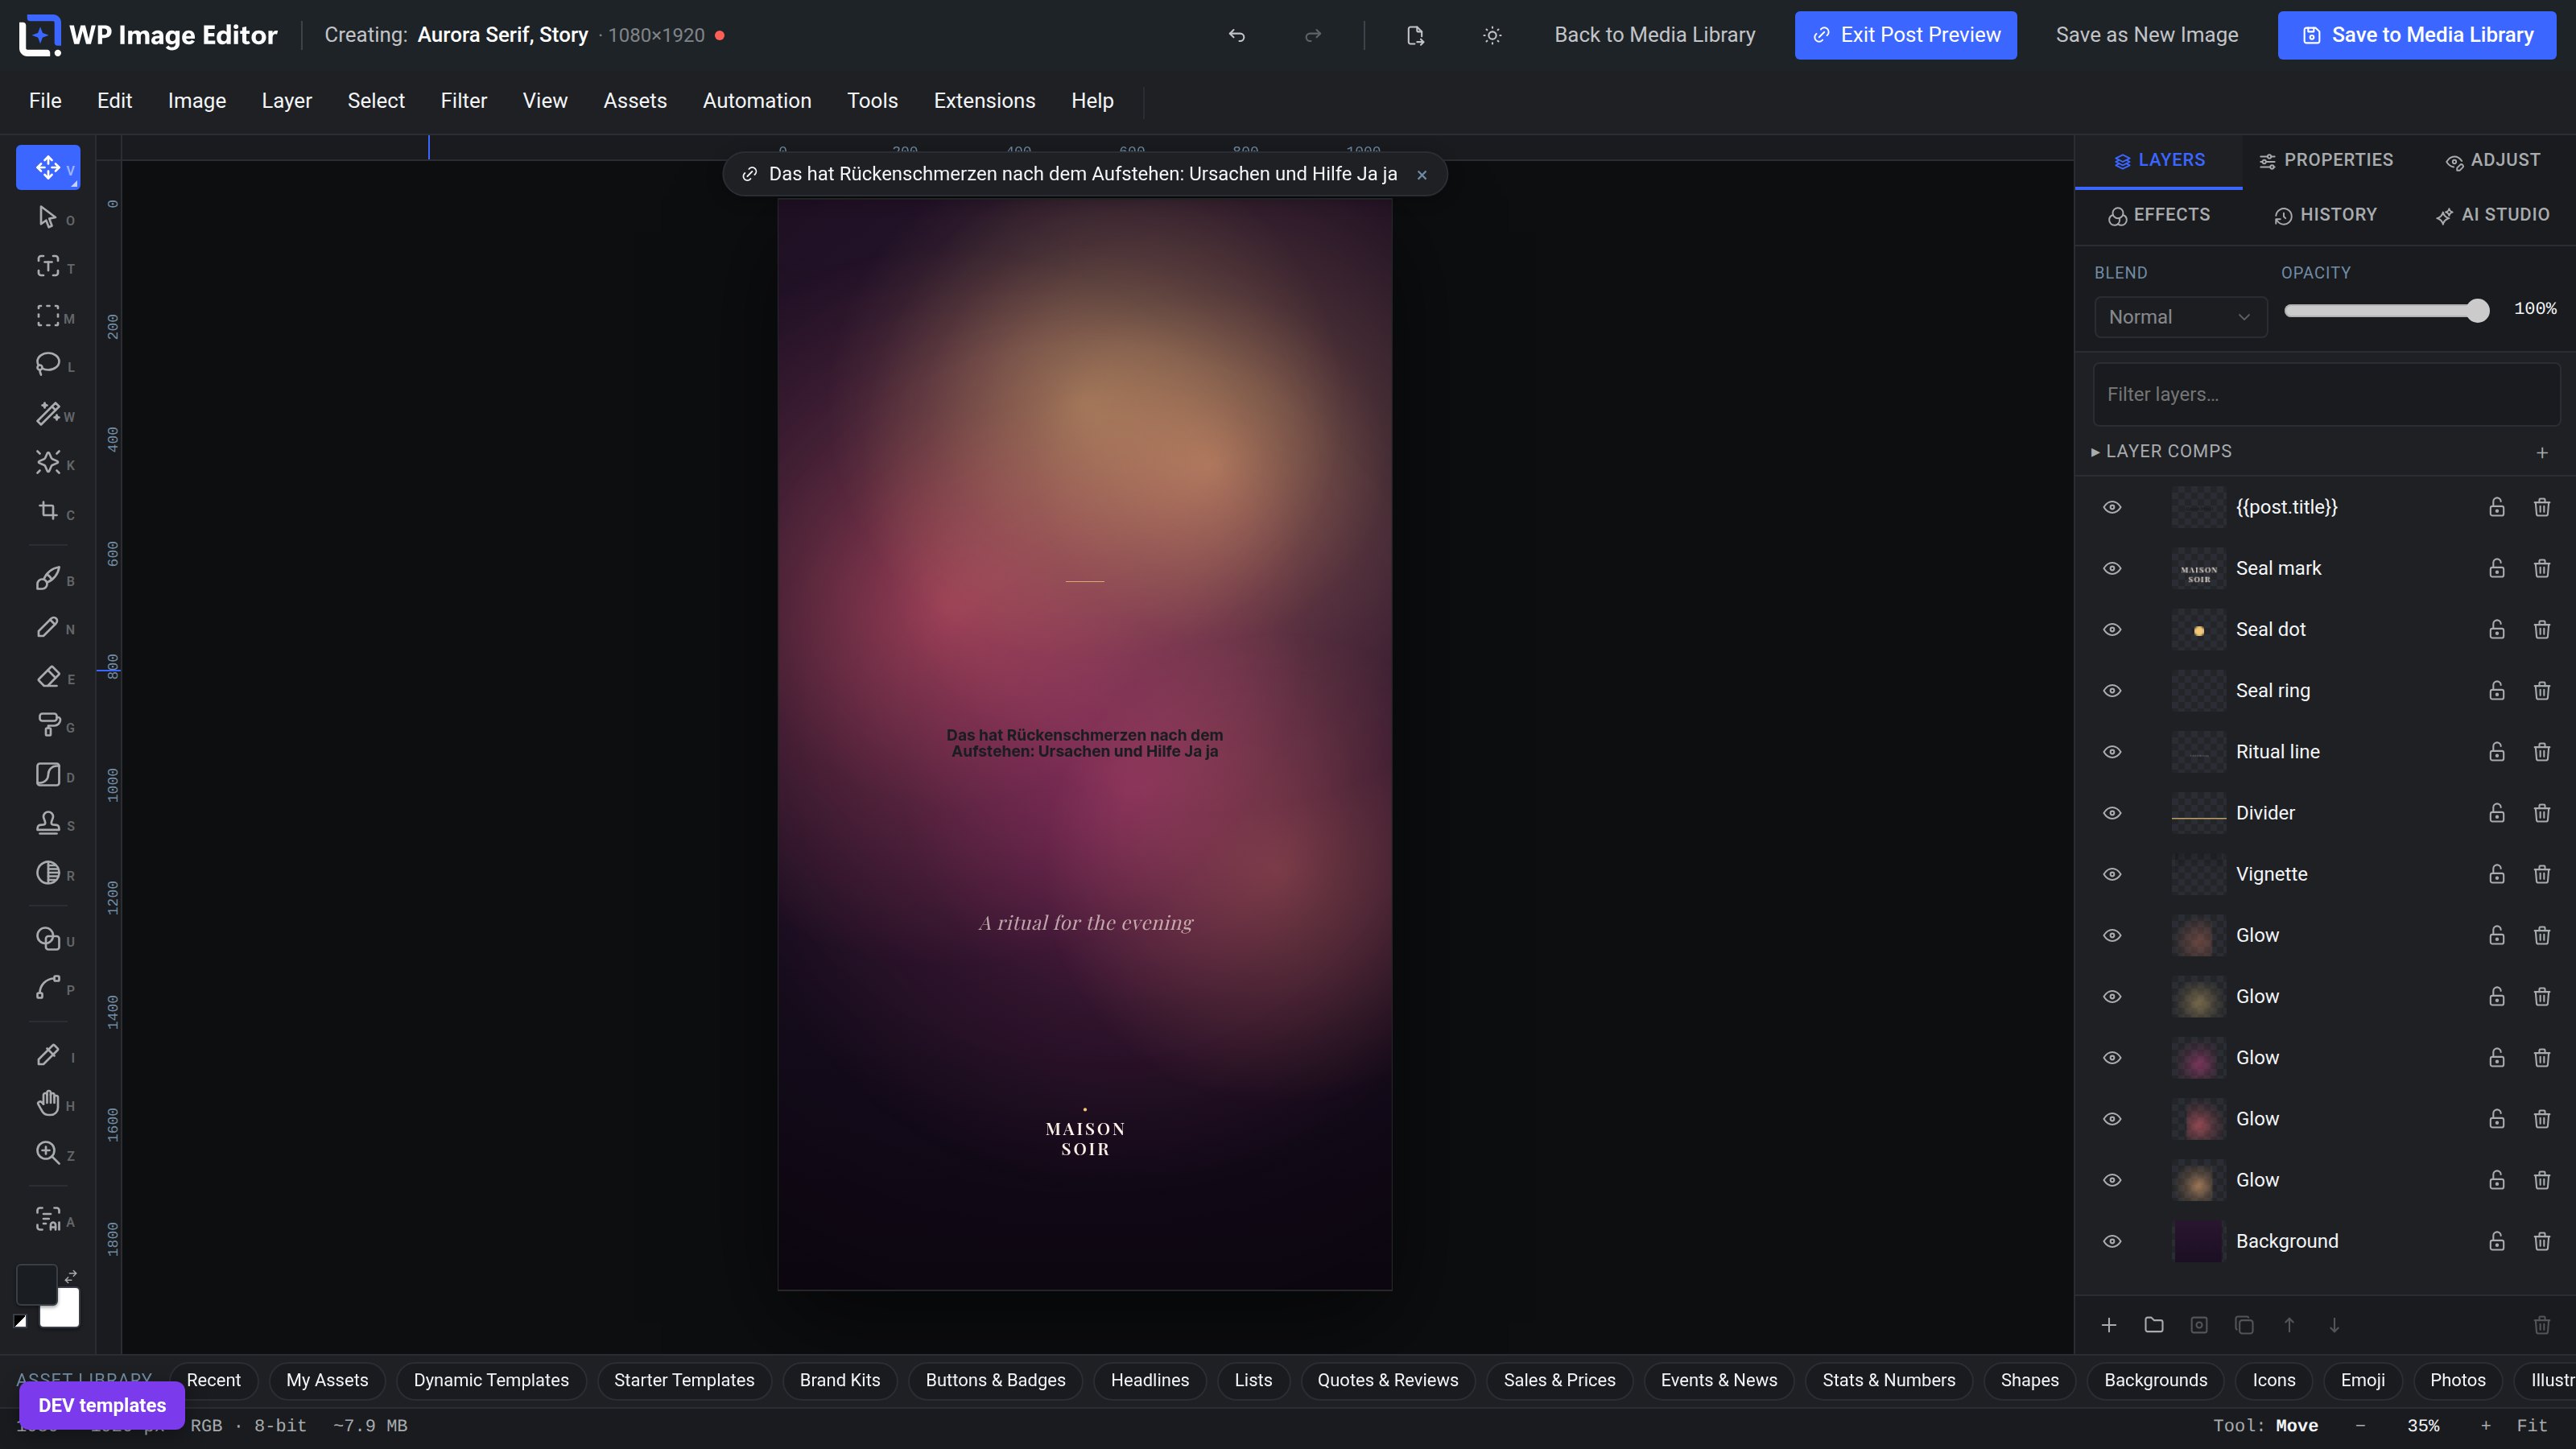
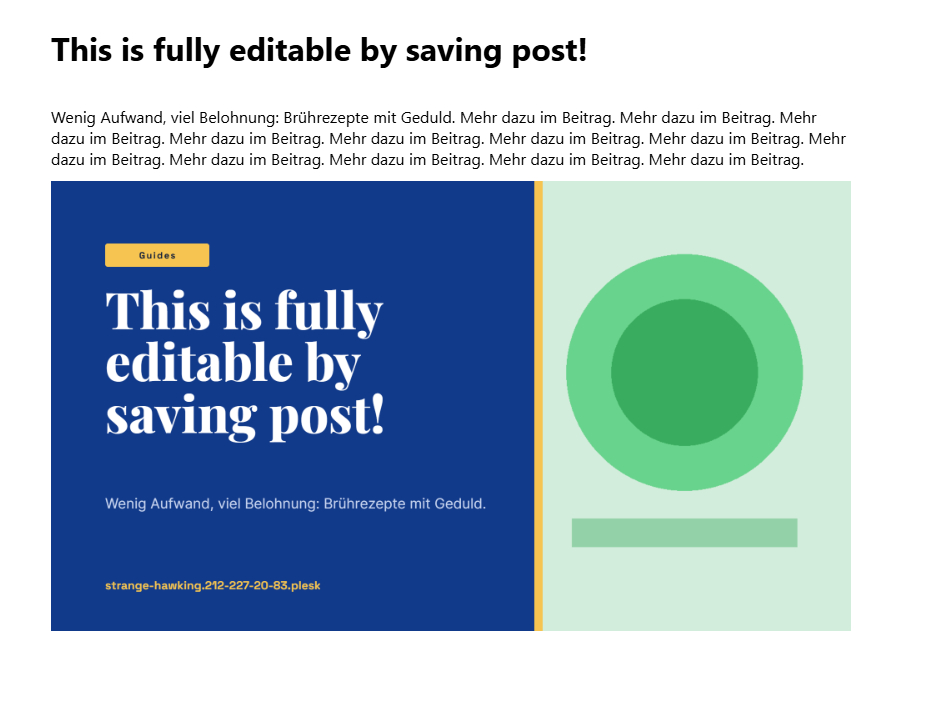
Generate an on-brand featured image for a whole batch of posts.
Turn on Auto-generate on publish and new posts without a featured image are queued when published and processed while the editor tab is open. The batch runs in the browser (the renderer) and survives reloads.
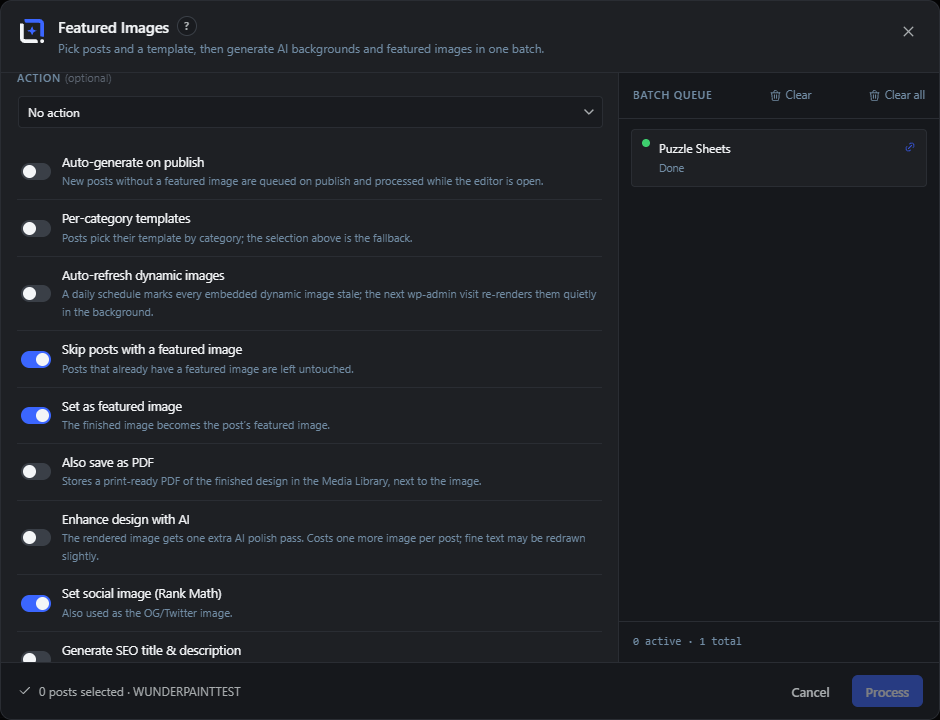
Put a design on the front end that fills with live data, without opening the editor.
Three modes, each available as a block and a shortcode. Pick by how the data changes:
wpie/dynamic-image or [wpie_dynamic_image template="…"]. A real PNG baked from the template for this post, served as a plain <img>. Best for SEO and reliability; a queue re-bakes it whenever the post is saved, and with Auto-refresh dynamic images (Automate dialog) on a daily schedule: the next wp-admin visit renders stale images quietly in the background, so data-bound designs such as a Showcase Studio product grid stay current wherever they are embedded.
wpie/live-badge or [wpie_live_badge]. A baked SVG whose bound text is substituted server-side on every render; saving its dynamic template re-bakes it automatically. Best for values that change often (price, stock, countdown). Keep the design to text, shapes and gradients: the browser lays out the SVG text, so a badge looks close to, but not pixel-identical with, the editor preview, and complex layer effects are simplified.
wpie/personalized-image or [wpie_personalized]. A client-side canvas render personalized per visitor through URL parameters. That makes newsletter personalization a one-liner: link your mailing as ?vorname=*|FNAME|* (Mailchimp) or ?vorname={{contact.FIRSTNAME}} (Brevo) and map the layer with map="Name:vorname:Fallback" - every reader sees the graphic with their own name.
Static per post, SEO-friendly and pixel-identical with your design: baked. Text that must update on every view, in exchange for a little visual fidelity: live badge. Different for every visitor: personalized.
One setup, then the graphic maintains itself: new products, fresh reviews, the latest episodes.
[wpie_dynamic_image template="…"]. The baked image keeps a stable URL, so it can also be embedded in newsletters or external pages.campaign="…" campaign-from="2026-11-24" campaign-until="2026-11-27"), and the webhook field pushes every fresh render to Zapier or Make.Inside the editor, right-click any showcase group and choose Refresh Showcase Studio: the saved query runs again and the cards swap in place.
Finish a product gallery and add an AI infographic, in a batch.
Product fields are available as variables in your templates: {{wc.name}}, {{wc.price}}, {{wc.discount}}, {{wc.category}}, {{wc.sku}}, {{wc.stock}}, {{wc.rating}}, {{wc.image}}.
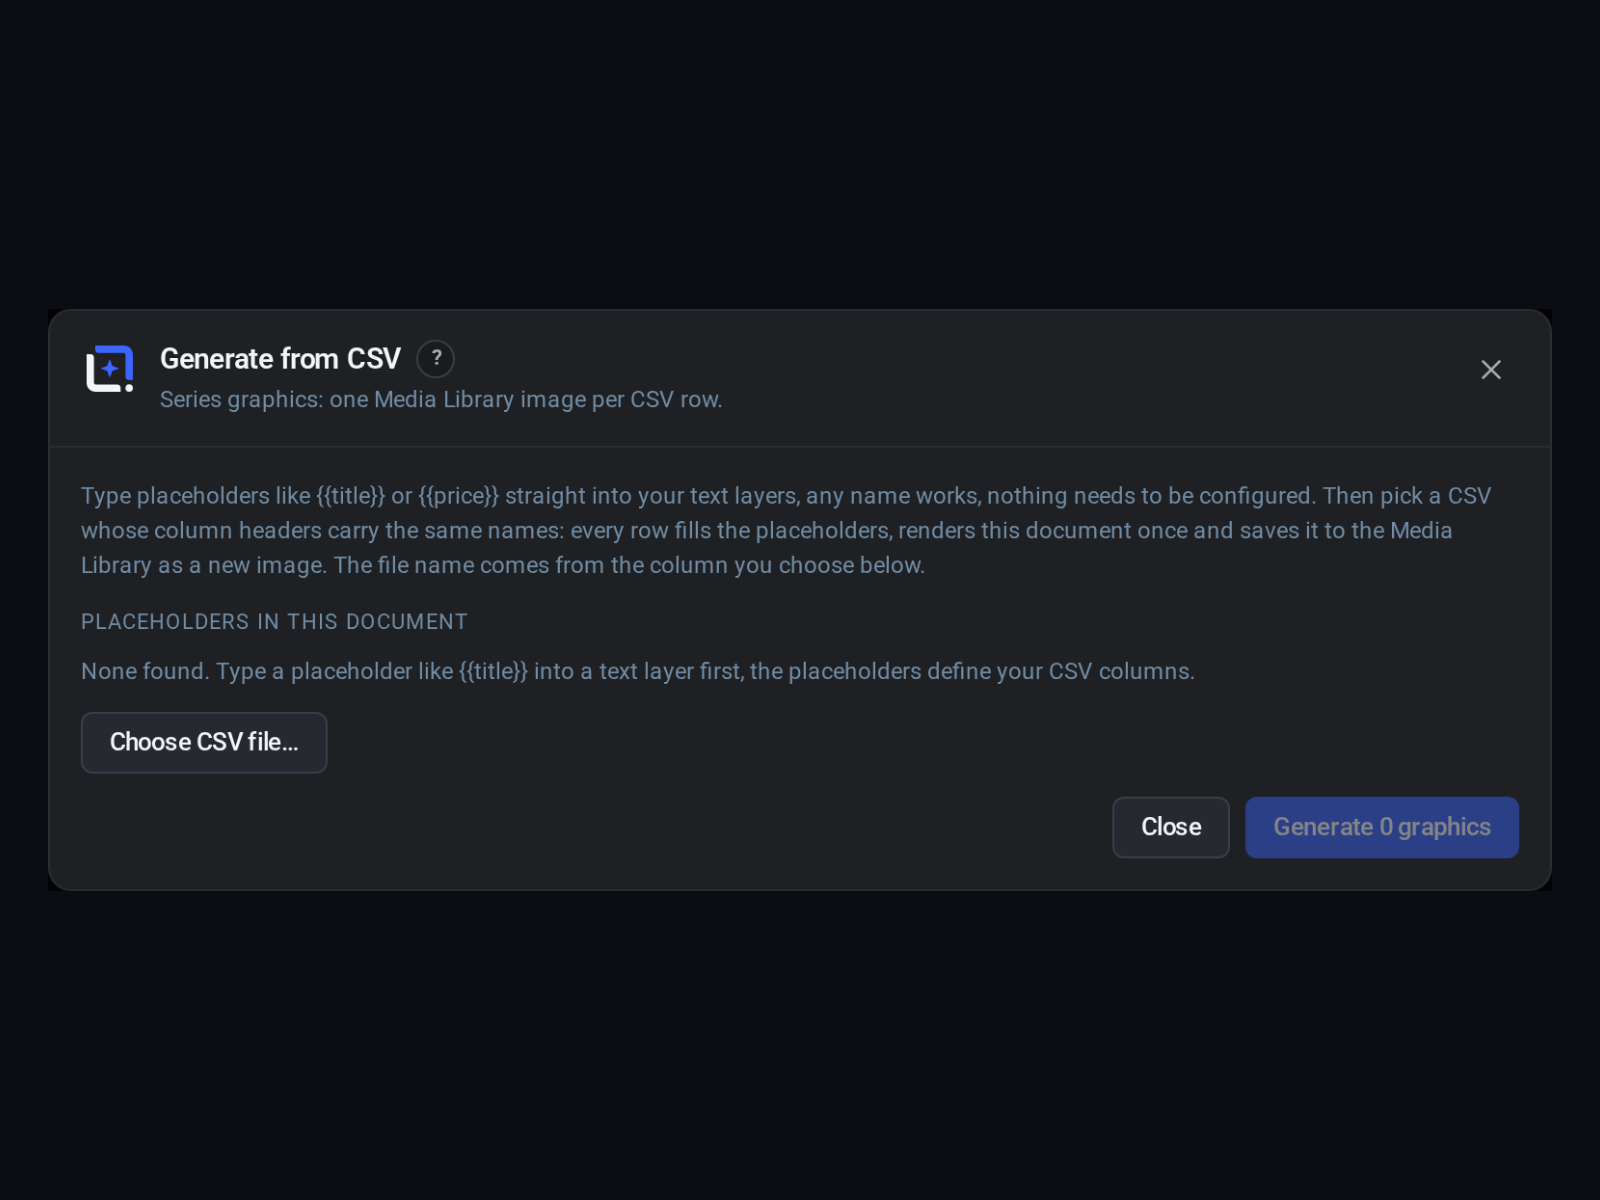
A mail merge for graphics: one saved image per row.
{{placeholders}} in the text layers.Great for certificates, badges, event line-ups and per-product cards.
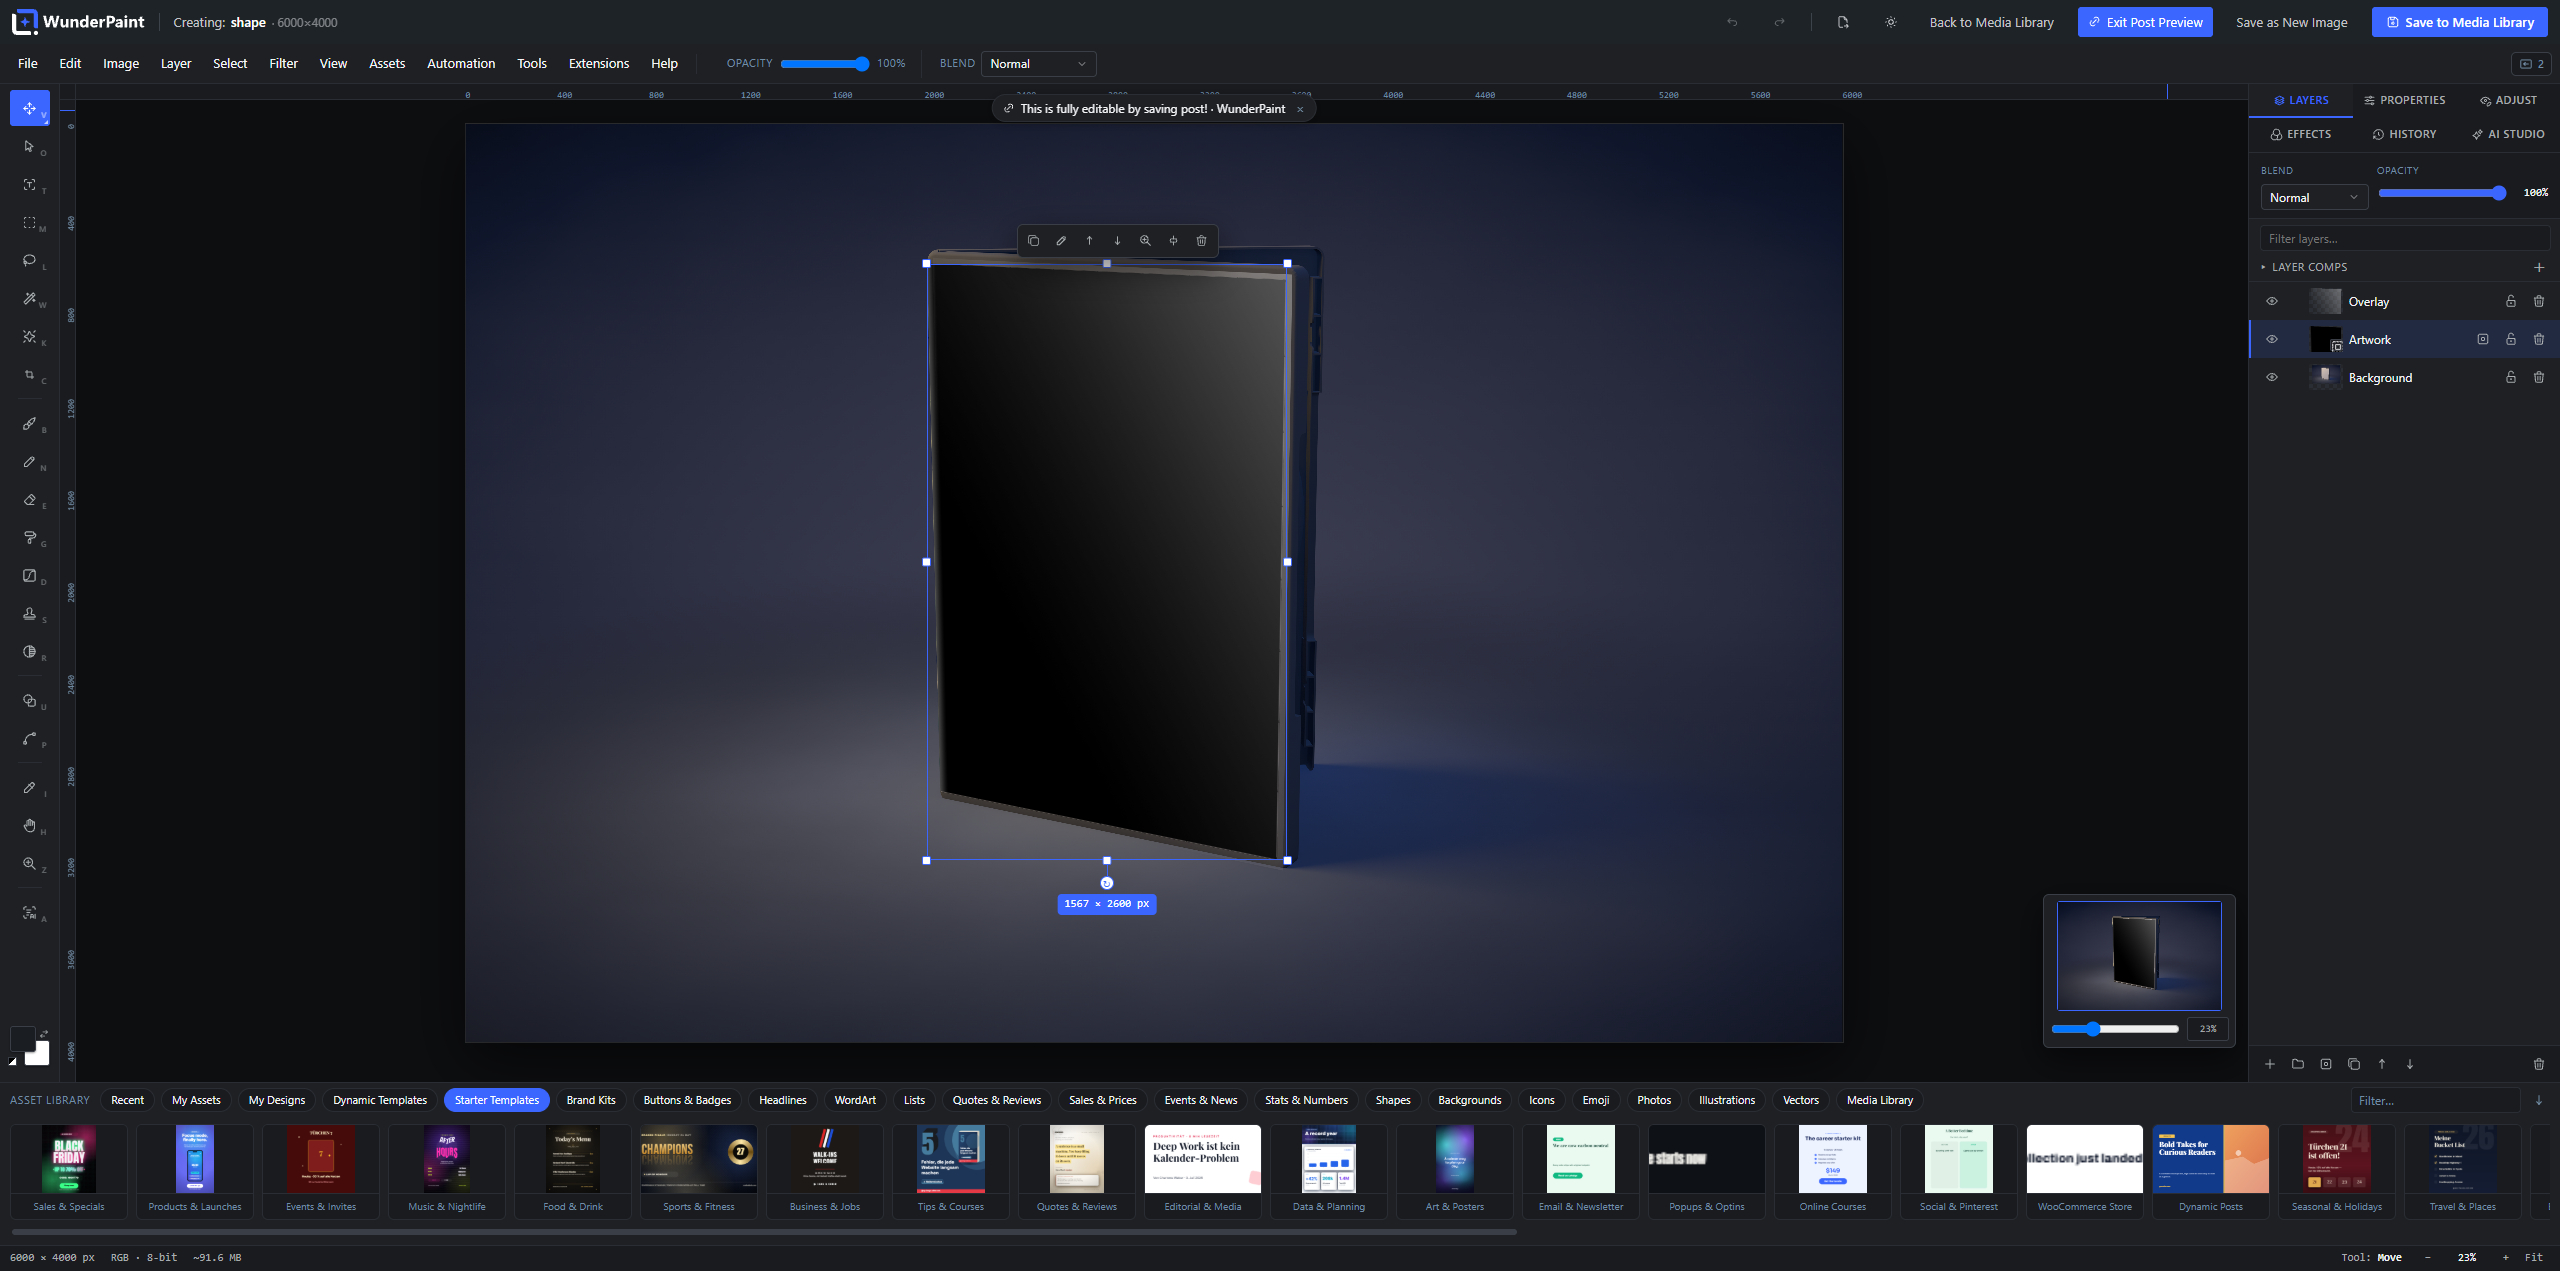
Wrap your design onto a 3D product and export a turntable animation.
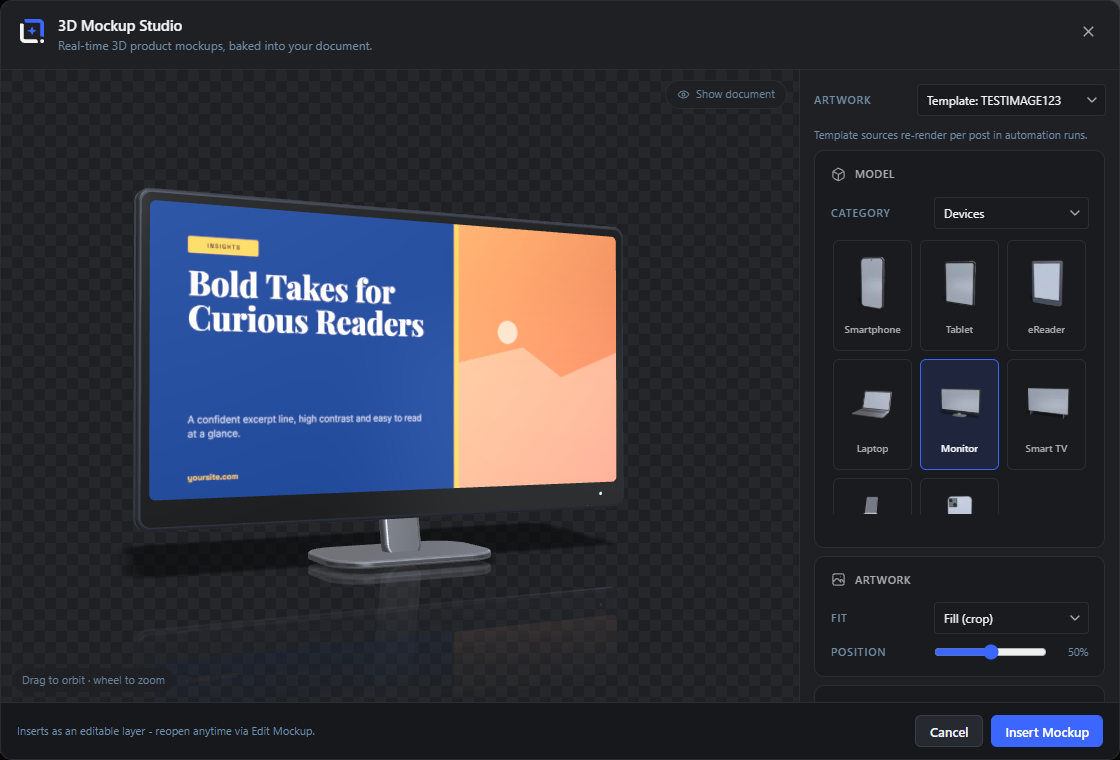
One template that renders an on-brand, 3D product image for every product. This is the capstone: it chains the brand kit, dynamic bindings, the 3D mockup and dynamic 3D text.
{{wc.name}}, {{wc.price}}, and the product photo {{wc.image}}. Use your brand colors and fonts, then save it as a Dynamic Template.{{wc.price}}. It is a generator layer, so it re-renders per product too.The 3D mockup and 3D text are generator layers, and generator layers re-render per post context when a template runs. The mockup even says so in its own artwork panel: Template sources re-render per post in automation runs. So the mockup is not a one-off render frozen at design time; it tracks each product.
From the same mockup you can export a 360° spin sheet, so a product gets an animated turn, not just a still.
Three studios can bake a turntable. This is what the result actually is, and what you do with it.
3D Mockup Studio, 3D Text Studio and 3D Gallery Studio all offer a 360° Spin card, and all three hand you the same three things. Which one you want depends on where the spin has to run, not on which studio you started in.

A sprite sheet is a flip book in a single file. The frames sit side by side in a grid, and a player shows one cell at a time and steps to the next one as the visitor drags. Twenty-four frames become five columns by five rows, with the last cell left empty. At the default frame size that is one image of 1920 by 1920 pixels.
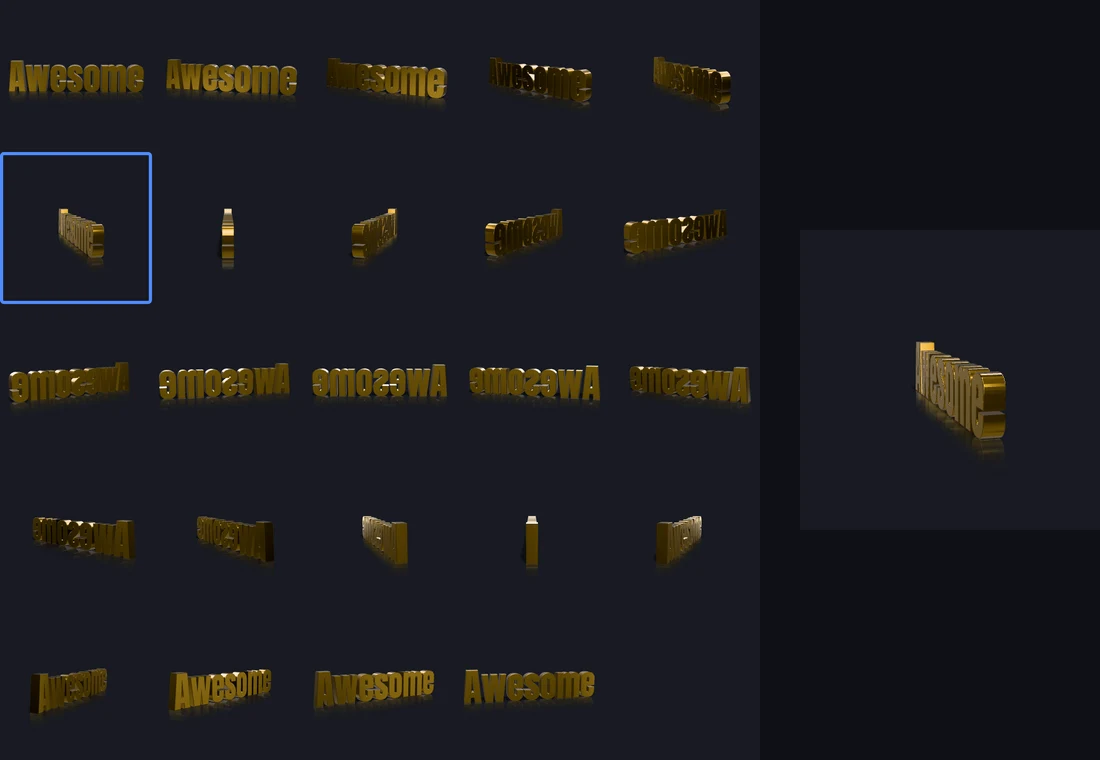
Nothing inside the editor plays a sprite sheet. The studio bakes one; a viewer, a plugin or a few lines of your own code play it. If you press Insert sprite sheet expecting an animation in the canvas, you get a grid of stills, and that is correct behaviour.
frame-01.png upwards and zero padded, in turning order, so a viewer that sorts by file name gets the rotation right with no renaming.Give an element the size of one cell, set the sheet as its background, and move the background position by one cell per frame. Frame i sits at -(i % cols) * cell across and -floor(i / cols) * cell down.
Both numbers matter: because the frames sit in a grid rather than one long strip, a plain CSS steps() animation is not enough on its own, since it walks a single axis. A grid needs a few lines of JavaScript, or a player that understands sheets. If all you want is drag to rotate, take the Viewer (HTML) download instead, which already does exactly this.
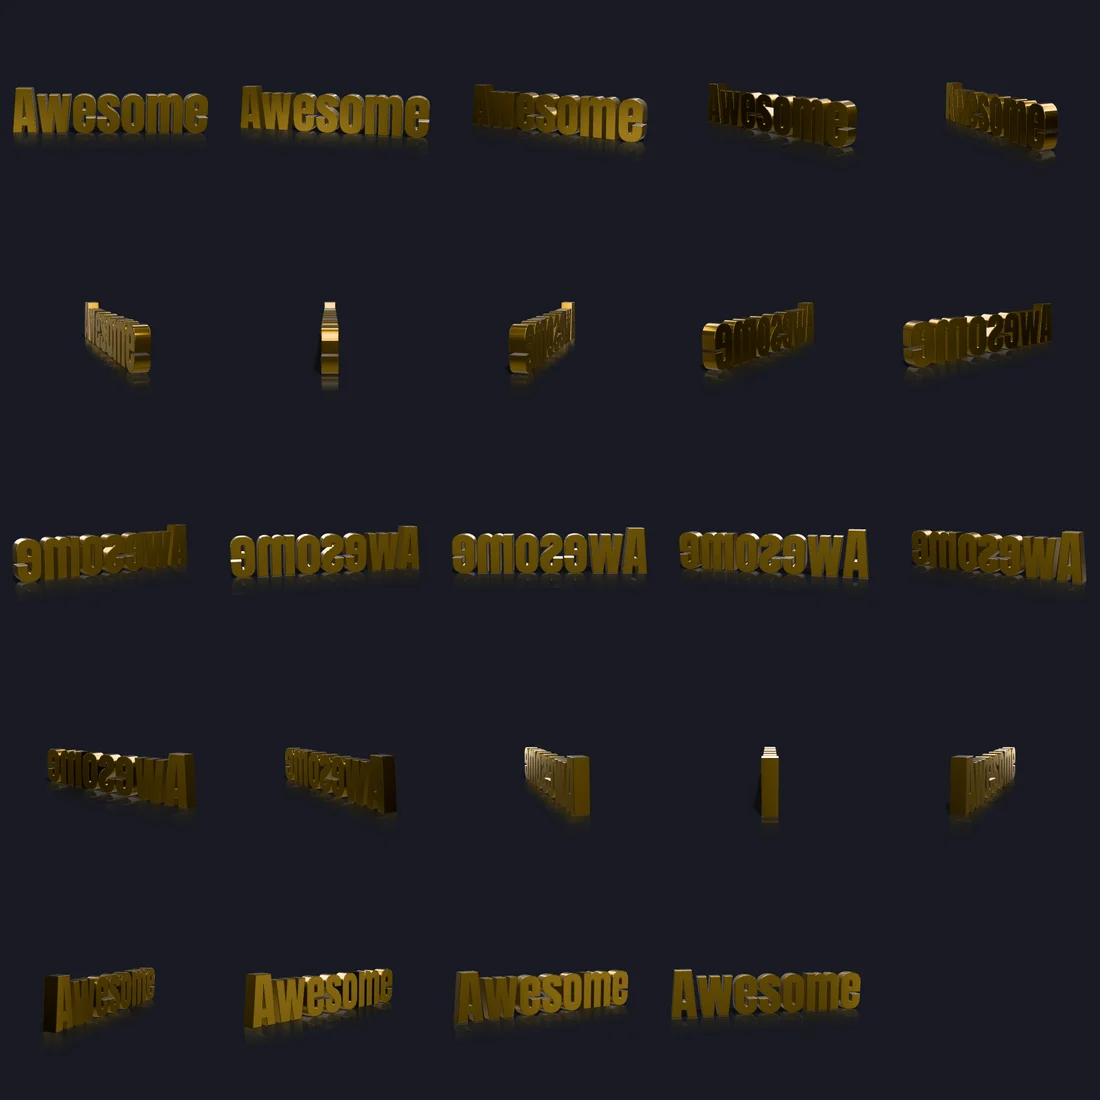
More frames make the turn smoother, larger frames make it sharper, and both multiply the file. Twenty-four frames read as a smooth turn for most objects. Go to thirty-six when the shape has fine detail that jumps between steps, and drop to twelve when the file has to stay small.
The per-control reference lives in the glossary: Sprite sheets: what to do with a 360 spin.
Turn a headline or a logo into a real 3D object, lit and reflected, and drop it into your design as a transparent layer.
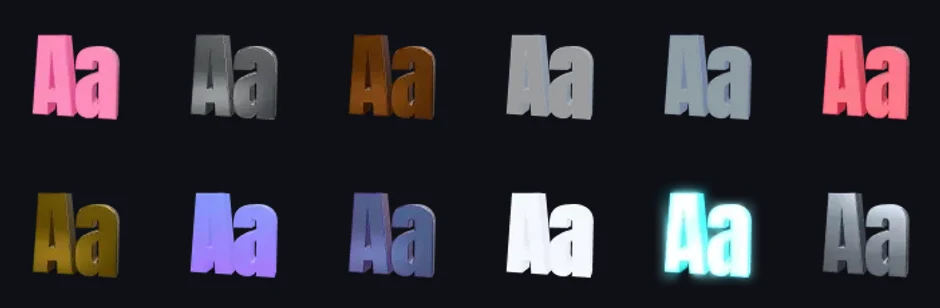
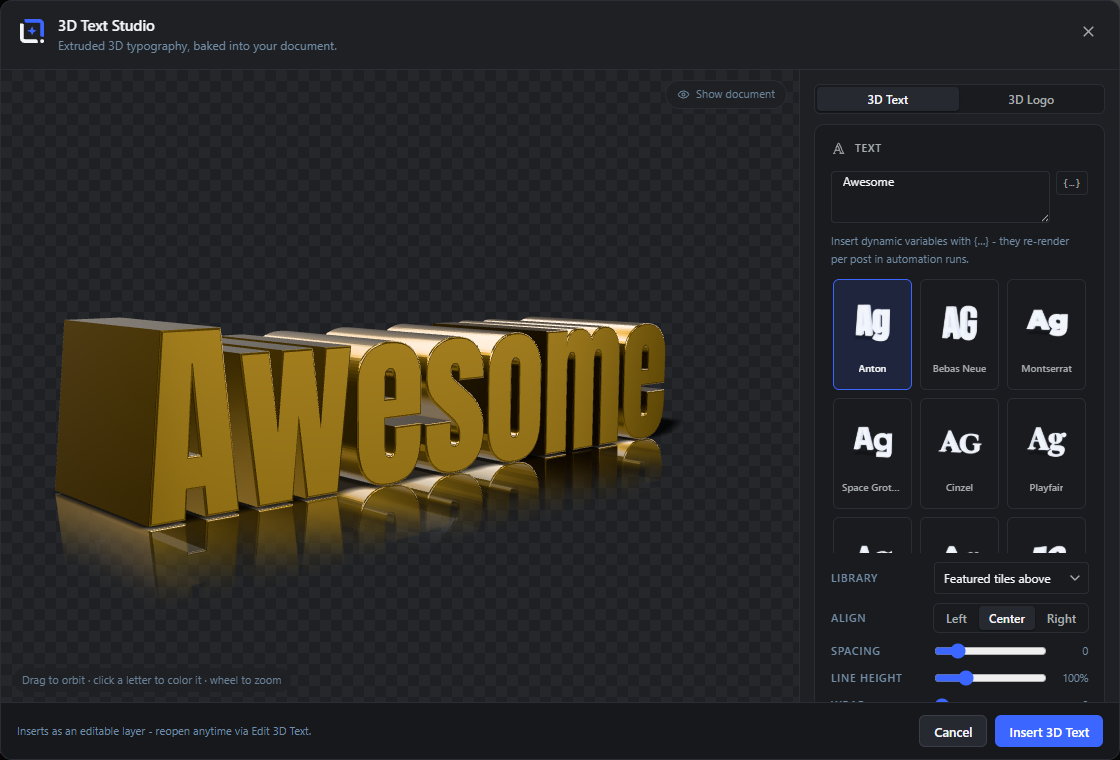
Bind the text to post data and it re-renders per post in an automation run, so a whole series of articles gets its own 3D headline without anyone opening the studio. See dynamic templates.
The same studio bakes a full turntable. What that gives you and how to play it is in the sprite sheet guide.
Arrange a set of photos as a designed wall, tilt it in real 3D, and take it out as a picture, a video loop or something the visitor can drag.
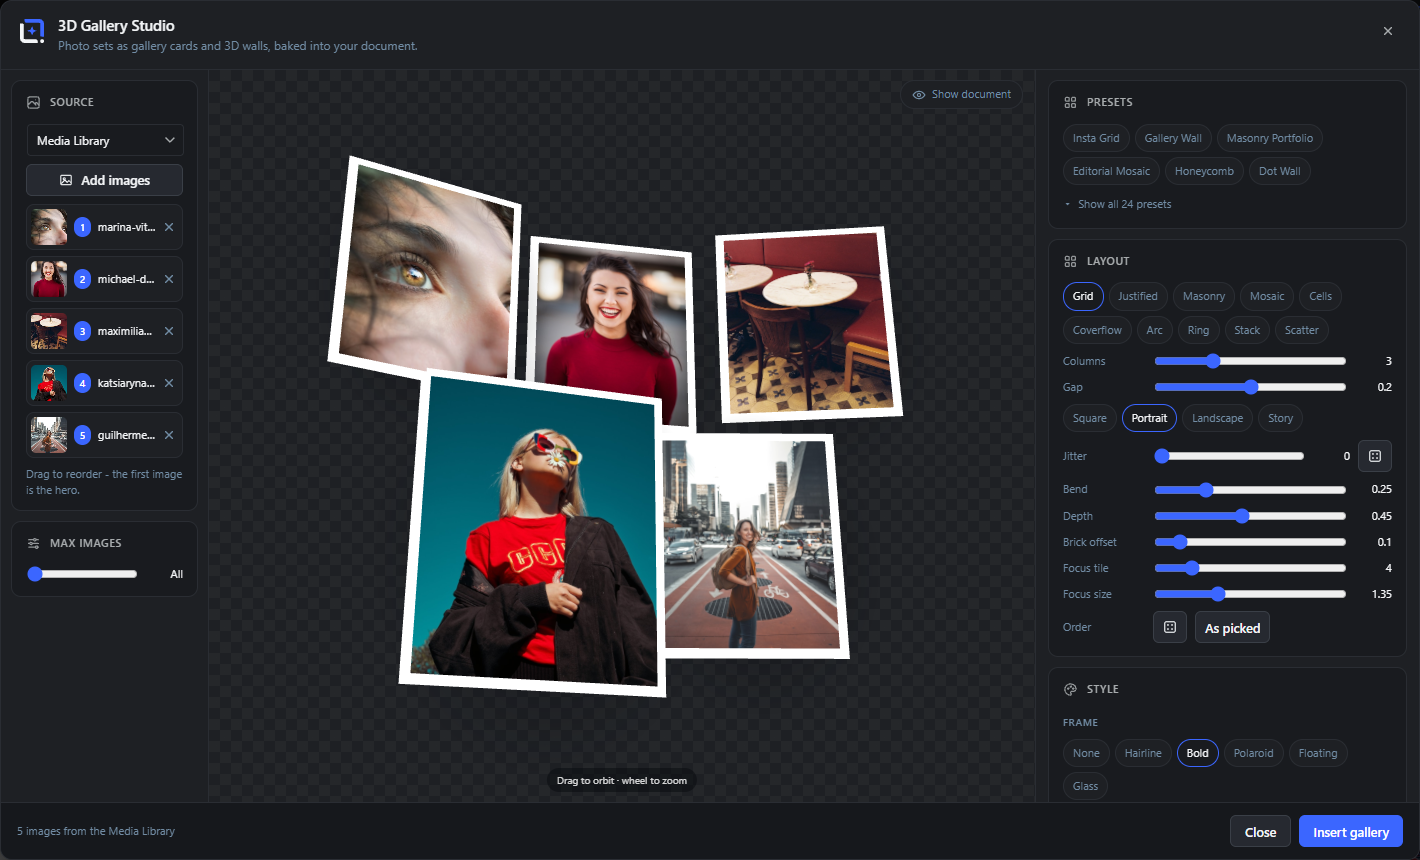
The drag-to-rotate embed takes the wheel only once the visitor has taken hold of the gallery, and on a phone a vertical swipe still scrolls the article. A 3D viewer that swallows the scroll is a trap in the middle of a page, so this one deliberately does not.
The video export needs movement. If the wall is standing still, the recording switches it to Sway for the take and puts it back afterwards, so you never get a video of nothing.
This studio wants WebGL2 and actual graphics hardware. On software rendering the scene stays blank. Help, then System Status shows what your device reports.
Drop a real 3D object into a design, repaint it, light it, and bake it as a transparent layer. Bring your own models, or have one built.
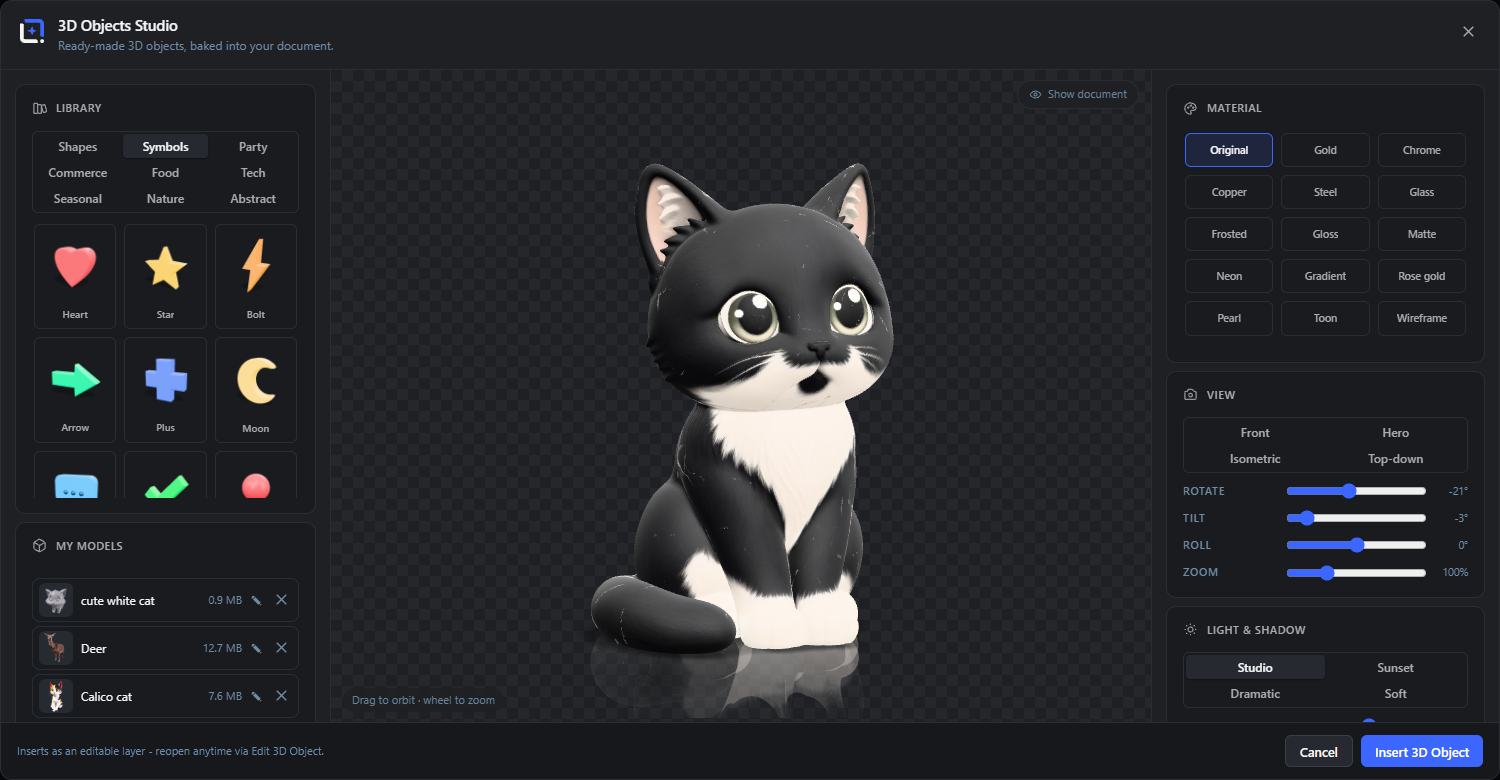
WebGL2 and actual graphics hardware. On software rendering the viewport stays blank; Help, then System Status shows what your device reports.
Everything made of paper that turns, curls and peels, as a real 3D object you can take hold of.
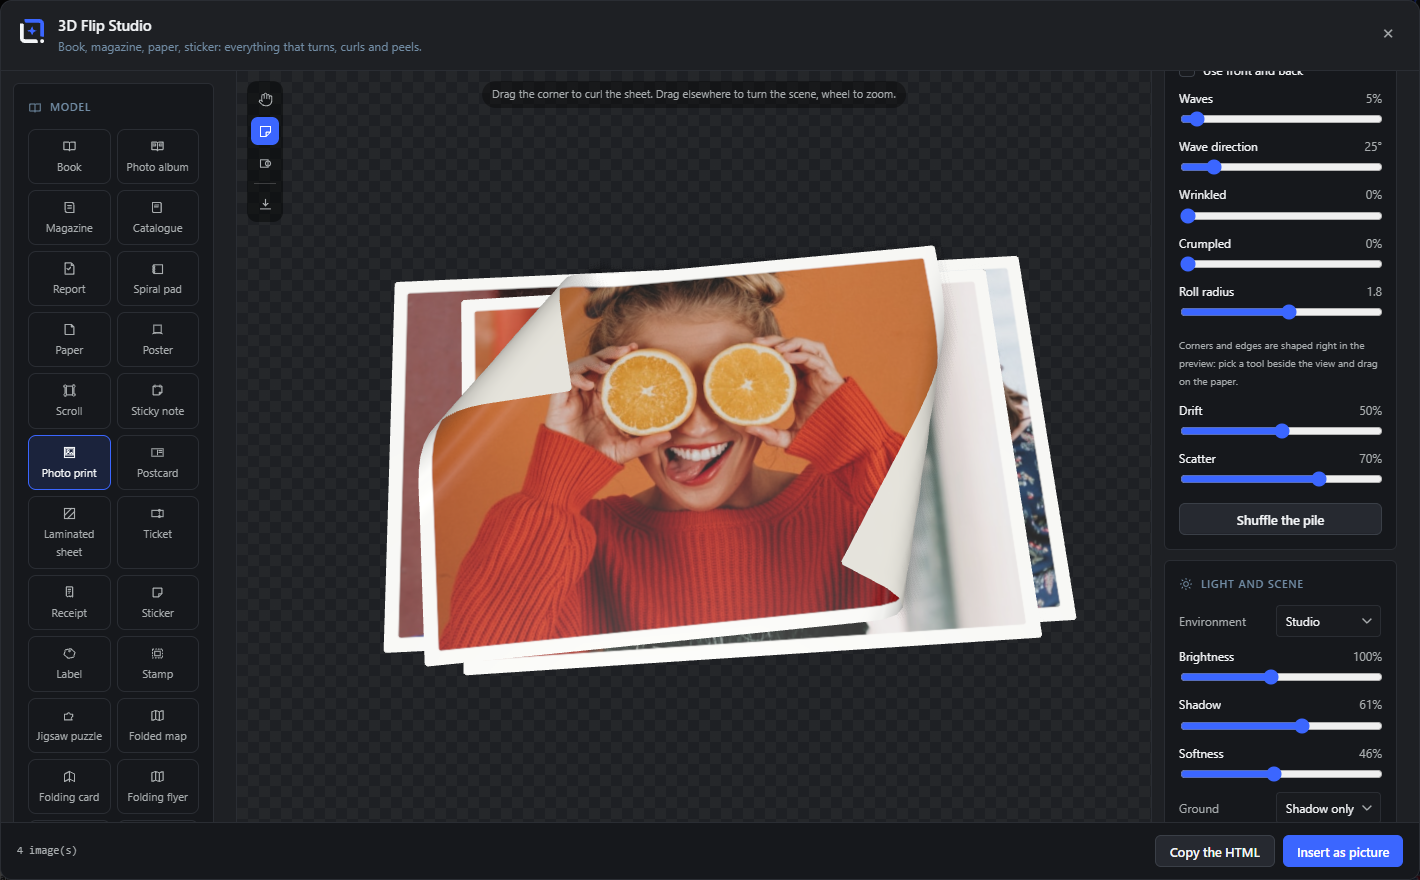
The HTML block points at real image URLs. Pages that exist only in your browser, which is what happens when you loaded a local PDF, cannot travel with it. Put them in the media library first. The studio tells you how many pages are affected.
One self-contained block with its own viewer inside. No library, no CDN, and no request to anybody else's server, so it also works on a site with a strict content policy.
The Pro add-on is about automation and scale.
WunderPaint Pro is a separate plugin that installs alongside the free editor. The whole editor stays free; Pro adds the features that turn it into an automated image pipeline:
Run dynamic templates across posts and products; auto-generate featured images from post content.
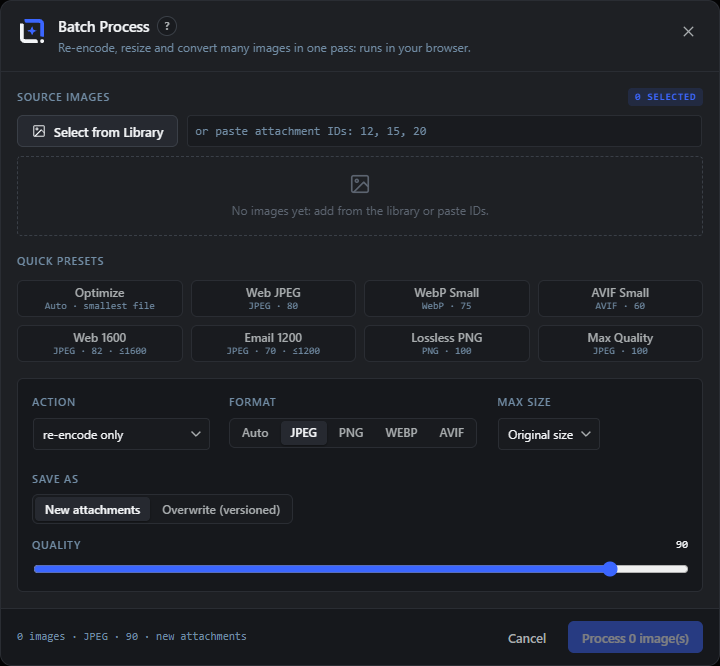
Batch re-encode, resize, convert (WebP / JPEG) and watermark many images at once.
One image per row from a
spreadsheet, using {{placeholders}}.
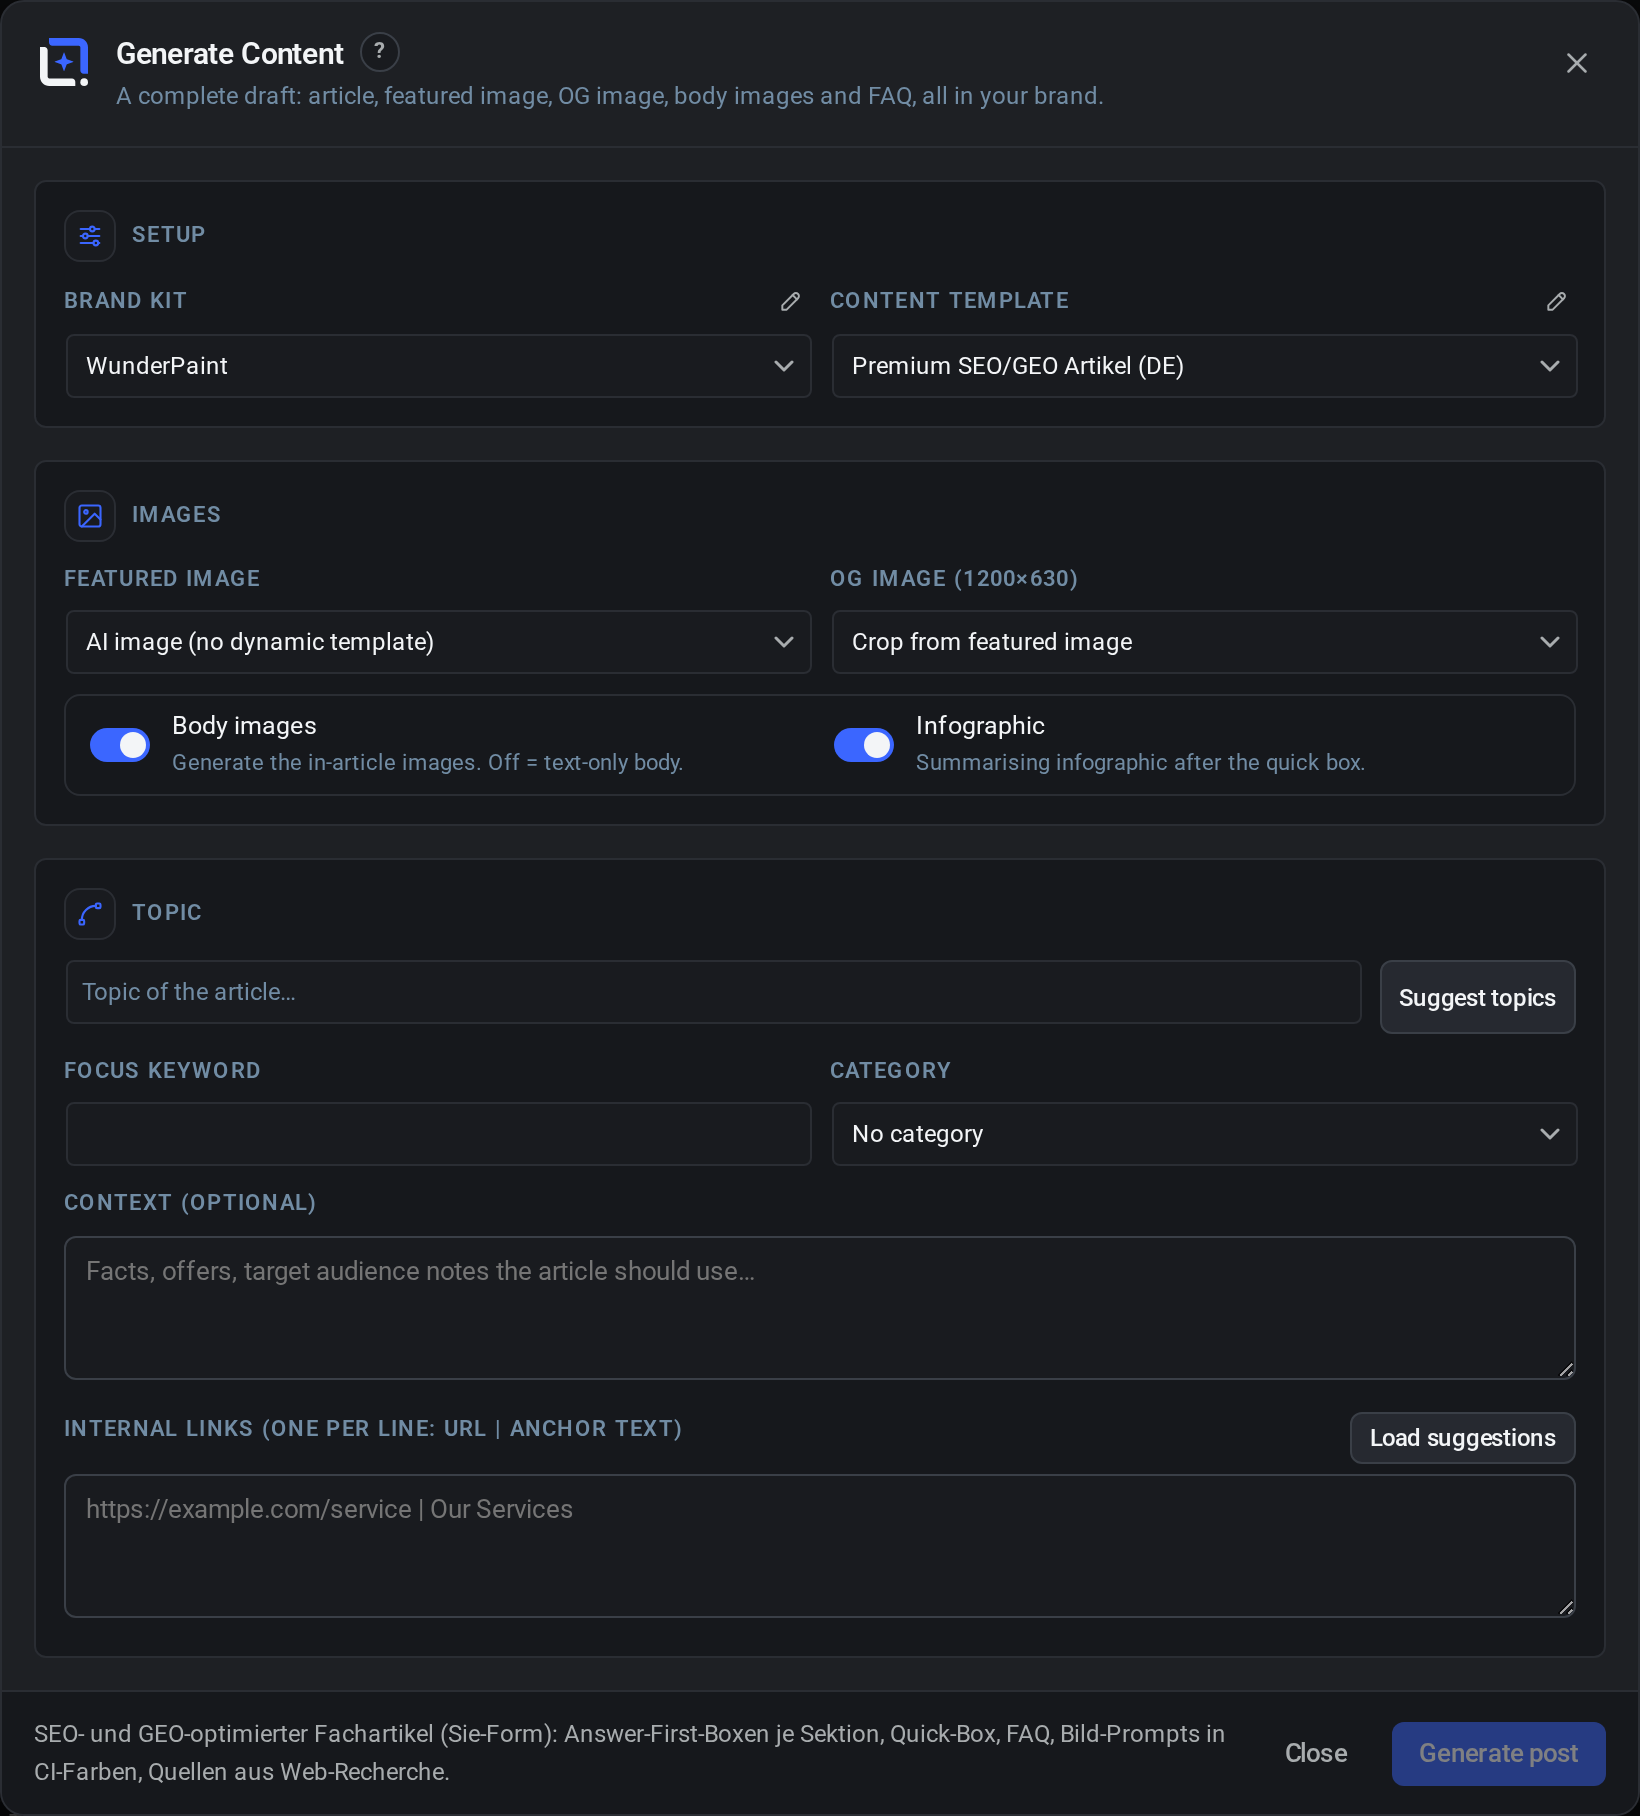
Draft SEO/GEO articles and content, with matching imagery.
Manage several brands, each with its own colors, fonts and logo.
Back up your designs and versions to S3-compatible storage.
Pro also ships dynamic image blocks and shortcodes ([wpie_dynamic_image],
[wpie_live_badge], [wpie_personalized]) and WooCommerce helpers
(gallery processing, product infographics).
Point a dynamic template at a set of posts or products and generate an on-brand image for each, with the right title, price or featured image filled in. Featured Images can be generated automatically from a post’s content, so a whole archive gets consistent, CI-correct social imagery.
Select images from the library (or paste IDs), choose a format (WebP, Web JPEG, lossless PNG), quality, resize and optional watermark, or run a recorded Action, then process them all in one pass, overwriting in place (versioned) or as new attachments. Quick presets like WebP Small make it a practical bulk optimizer.
A mail merge for graphics: put {{placeholders}} in your text layers, upload a CSV,
and get one saved image per row. Perfect for certificates, badges, per-product cards and event
line-ups.
Generate structured, SEO/GEO-minded articles and content in your chosen output language, with brand-aware imagery to match, from inside the same tool you design in.
| Capability | Free | Pro |
|---|---|---|
| Full layer editor, tools, filters, effects, text, vectors | ✓ | ✓ |
| AI generate/edit and local AI (bg removal, upscale) | ✓ | ✓ |
| PSD import/export, SVG, animation, export formats | ✓ | ✓ |
Templates and dynamic {{tokens}} (design-time) | ✓ | ✓ |
| Edit in place (media picker, Elementor, Gutenberg) | ✓ | ✓ |
| Run templates across posts/products (automation) | ✕ | ✓ |
| Featured images from post content | ✕ | ✓ |
| Image Processor (batch re-encode/resize/convert) | ✕ | ✓ |
| Series from CSV (mail merge) | ✕ | ✓ |
| AI Content Generator | ✕ | ✓ |
| Multiple brand kits, off-site backups, WooCommerce helpers | ✕ | ✓ |
Optional studios that plug new generators and tools into the editor.
Extensions are one-time add-ons that appear inside the editor (Extensions menu) and insert their output as normal, fully editable layers. They use the same public Extension API any developer can build on (see the developer docs).
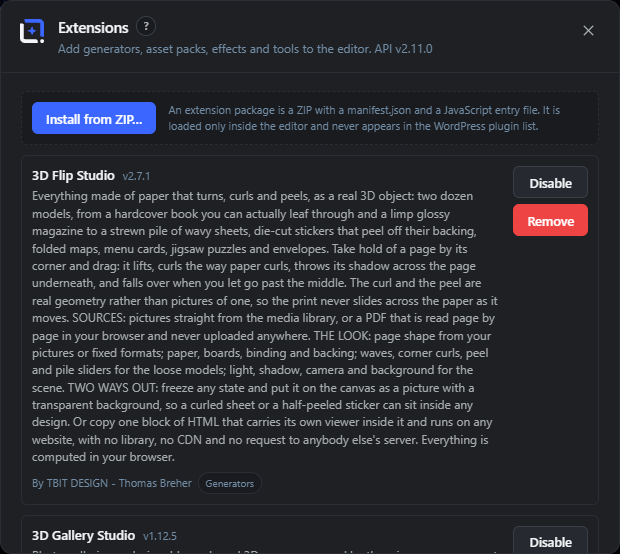
Extruded 3D typography and 3D logos (SVG extrusion), material presets, per-letter styling, 360° spin export.
Dozens of ready 3D product mockups (boxes, devices, print, merch) with per-surface artwork and a 360° spin.
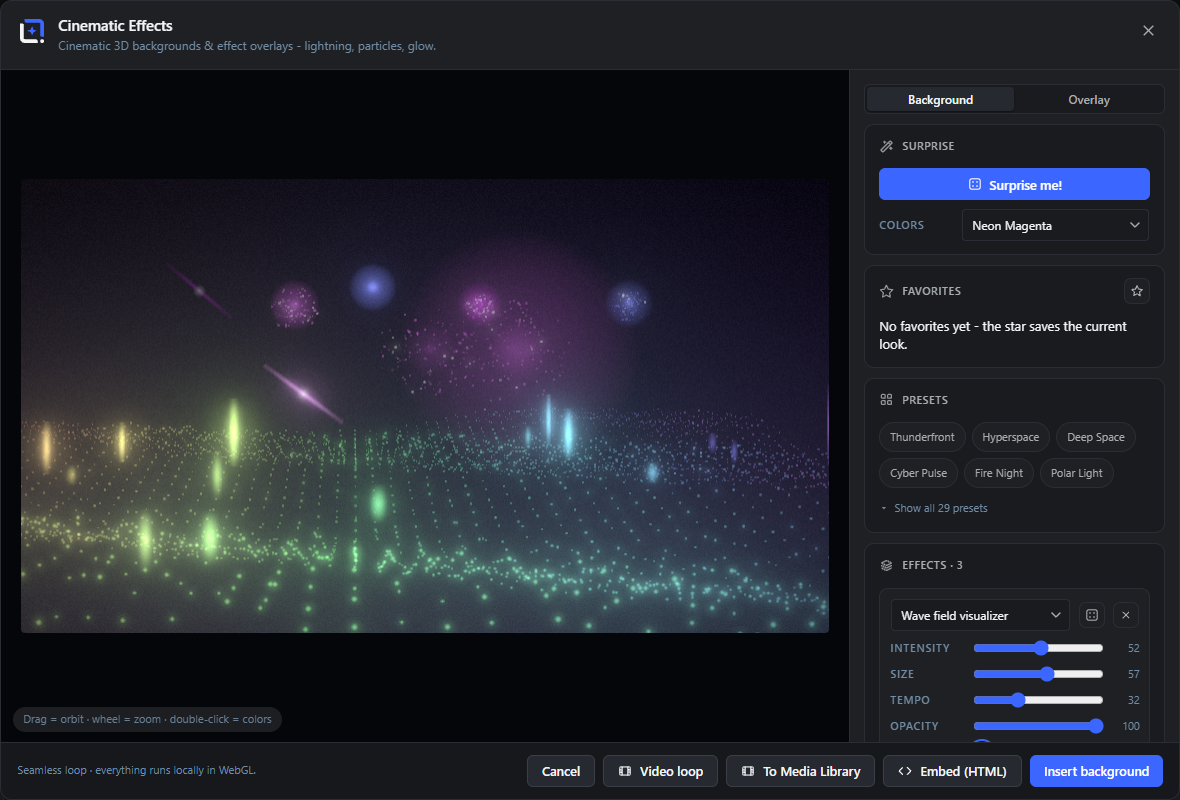
A cinematic WebGL effect engine for backgrounds and overlays: many motifs, seamless loops and WebM export.
Photo sets as designable gallery cards and 3D walls: grid, masonry, honeycomb, coverflow, carousel and polaroid scatter, static or dynamic per post.
A motion and video studio with a timeline: animated 3D text, image reveals, effects and music, exported as a seamless looping video.
A curated library of ready made 3D objects across nine categories, lit and posed in the scene, with optional AI generated models.
Everything made of paper that turns, curls and peels: books you can leaf through, magazines, folded maps, stickers and jigsaw pieces, from pictures or a PDF.
“Living photos” with depth-based parallax, relight, flares and cinematic post FX, plus an overlay mode for effects without a model.
Programmed-beauty overlay artwork: many motifs, an interactive playground, animation and SVG export.
AI ad-banner sets: copy plus images across multiple formats, with your brand and optional batch across products and posts.
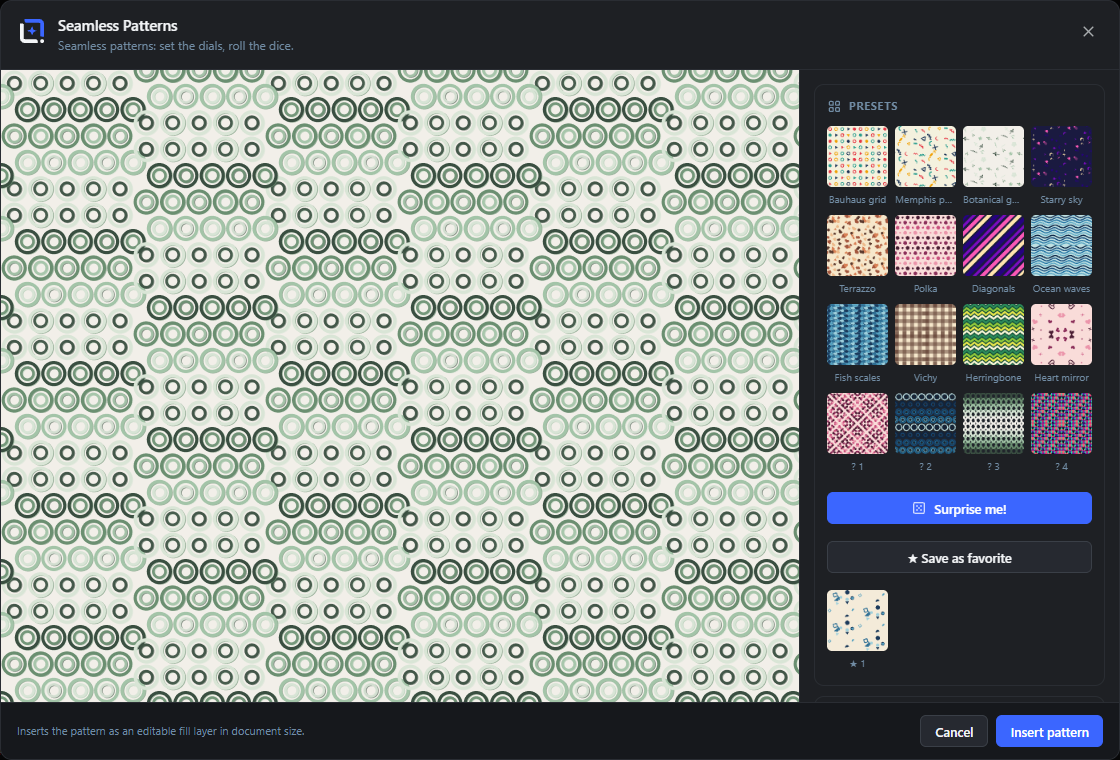
Seamless pattern tiles from a seed: many motifs, repeats and doodle sets; export PNG/SVG or use as a fill.
SmartArt-class diagrams: 22 types from process steps to org charts, SWOT and target rings, as fully editable layers with live connectors.
Turn one design into ten platform formats with true re-layout, not just cropping.
Live WordPress data as one designed graphic: product grids, price lists, blog roundups, review walls and team cards from real records, with a one-click Refresh and automatic updates inside dynamic templates.
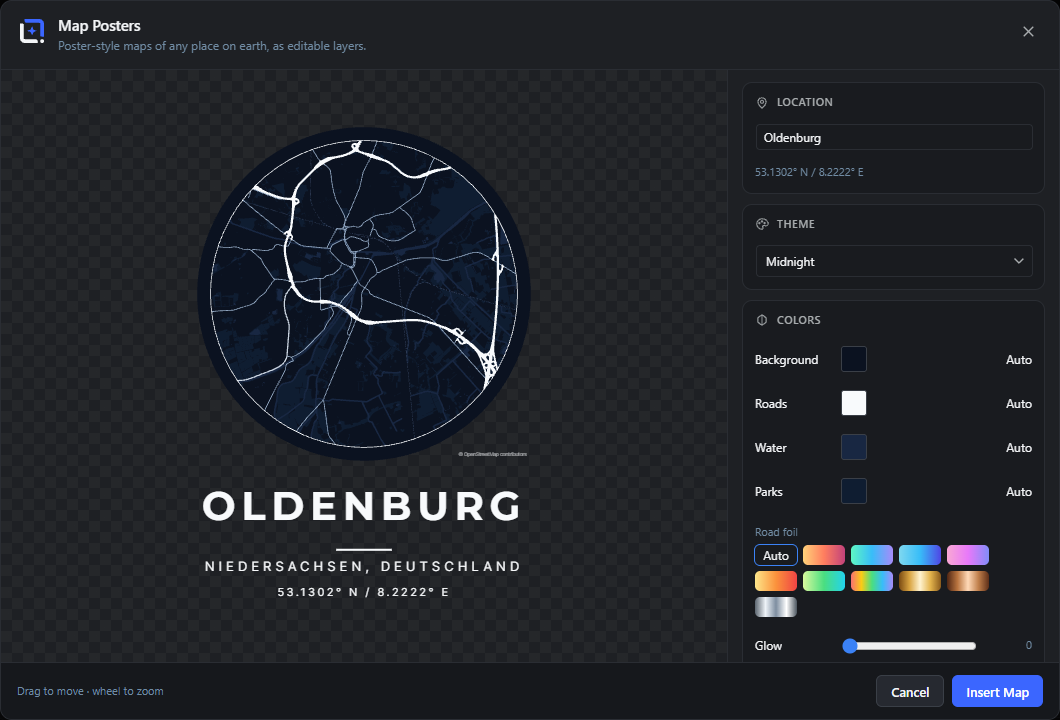
Beautiful poster maps from OpenStreetMap data, styled and labeled.
The night sky for a place and date, as a poster.
Turn audio into a waveform graphic.
Calendars and planners, importing .ics and .csv.
GPX tracks into posters with pace, heart-rate and elevation color modes.
Design the paper on both sides, watch the preview fold it into a crane, a fox or a box, then print the folding sheet, its mirrored back for duplex and the instruction pages.
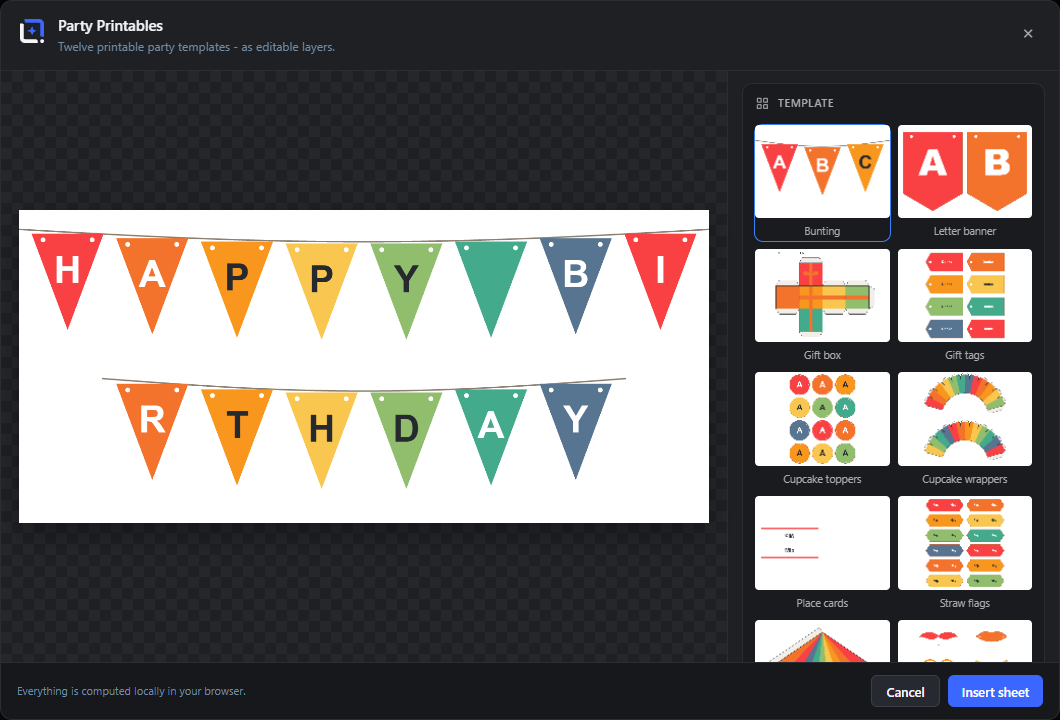
Bunting and letter banners, gift box dielines, cupcake toppers and wrappers, place cards, party hats, photo booth props and a print and cut sticker sheet.
Word search, a real maze inside a shape or the silhouette of an image, sudoku, criss cross, a number cryptogram and an addition pyramid, each with an optional solution sheet.
Cross stitch charts, diamond painting, fuse beads, a gauge aware knitting chart, corner to corner crochet, latch hook and real string art with a numbered winding guide.
Paint by numbers, coloring pages with closed outlines, a tracing sheet, connect the dots, a symmetry sheet and the classic grid drawing aid, all from one photo.
The classic photomosaic: your picture rebuilt from a pile of other photos, matched on their own internal structure so the contours emerge from the pictures themselves.
Your image rebuilt from characters, emoji, toy bricks, dice, sticky notes or ceramic tiles, plus word portraits and lyrics that flow along the picture.
Turn a picture into an instruction: numbered pins, arrows, callouts, notes, spotlight, blur and redaction, every mark anchored to the spot it points at rather than to a position on the canvas.
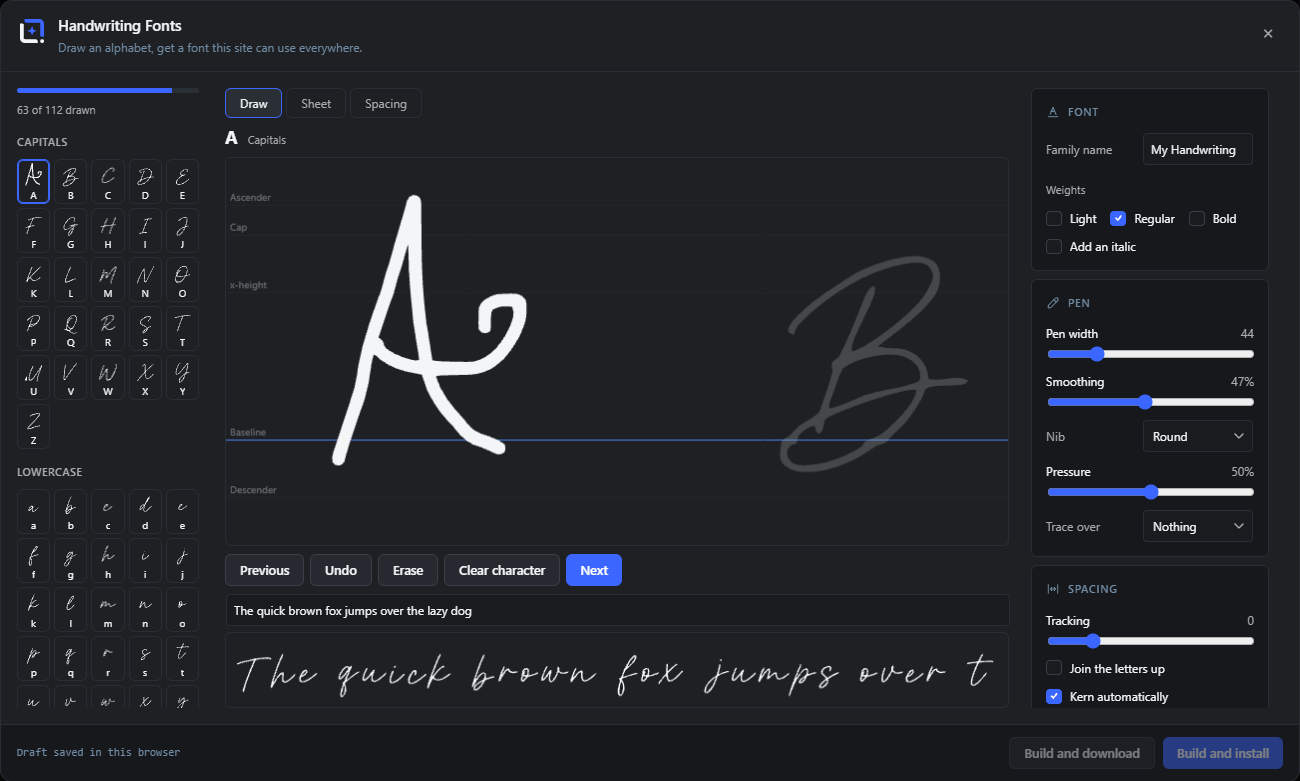
Draw the alphabet on a type grid or fill in a printed sheet and photograph it. What comes out is a real OpenType family, installed into your site and available in every font picker.
Under Settings, then WunderPaint: default provider and API keys, local AI model downloads, theme, default canvas size, versioning (how many versions to keep), watermark, fonts (self-hosted plus optional Google fonts), stock providers, and the editor capability (who may use it).
Help lives inside the editor as well: the searchable Handbook, a Help Assistant that answers questions and builds small guided tours, and Help, then System Status for exactly what your device and server offer.
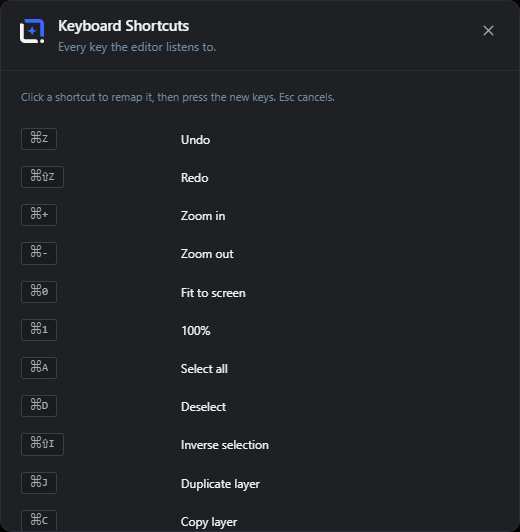
Every tool has a single-key shortcut (V move, B brush, T text, P pen). Common actions: ⌘S save, ⇧⌘E export, ⌘Z undo, Esc cancel or close. Shortcuts are remappable in Preferences.
No. The whole editor and the local AI features (background removal, upscaling, smart select) work without any key. Keys are only needed for cloud generation with Gemini/Imagen or OpenAI.
On your own server. They are never exposed to the browser, and calls to a provider happen server-side, only when you use that feature.
No. Your original stays untouched until you choose to save. You can save as a new version (with rollback) or as a new attachment.
Yes, see Re-editable images. The editable project travels with the attachment.
Elementor and the Gutenberg image block natively, plus any builder that uses the WordPress media picker (Bricks, Divi, Beaver, and the classic editor).
Nothing leaves your site on its own.
WunderPaint has no analytics, no tracking and no telemetry. It does not phone home, it does not register your site anywhere, and it never sends your images or your content to us. Editing, compression, search, the Media Library tools and the local AI helpers all run on your own server and inside your own browser. The bundled font families are self-hosted, so the editor contacts no font CDN by default.
Everything that can reach an outside address belongs to a feature you use on purpose, and most of those stay completely silent until you enter an API key of your own. Every one of them is listed under External services below, with the exact data it transmits and when.
uploads/wpie-models and served
from your own site afterwards. They then run in the browser, so the images they process never
leave the machine you are working on.WunderPaint Pro adds a license, so activation, updates and premium extension downloads talk to Freemius and to our delivery server. Both are described below. The free plugin contains neither.
This is every outside address any part of WunderPaint can contact. Each belongs to a feature and is only contacted when you use that feature, and a service that needs an API key stays silent until you enter that key under Settings, WunderPaint, AI Providers. Unless an entry says otherwise the request is made server-side by your WordPress site, so the service sees your server's IP address and not your visitors'.
Host delivery.wp-image-editor.com. When an editor user opens the Extensions manager
and the one-hour cache on your site is cold. Sent a plain GET request for the file
catalog.json. No API key, no site data, no user data, no identifier of any kind.
Received the list of available extensions with names, versions and descriptions, cached on
your site for one hour. The free plugin never downloads or runs extension code by itself: the
manager shows a download link, your own browser fetches that ZIP from the same host, and you install
it manually.
Privacy policy ·
Terms
Pexels, Pixabay and Unsplash all work the same way. Nothing is sent until you enter that service's own key, and then only when you search under Assets, Stock Images. Your server sends the search text you typed, the page number and the number of results per page, together with your key. The result thumbnails are then shown straight from the service's image servers, so the browser of the person searching contacts them directly and its IP address is visible there. When you place one of the pictures in your design, your server downloads that file into your own Media Library.
Google Gemini, OpenAI and Anthropic Claude all work the same way. Nothing is sent until you enter that provider's API key yourself, and then only when you trigger the action. Your key travels with every such request. What leaves your site depends on the action and never on anything else:
Host nominatim.openstreetmap.org. When only when an editor user searches for a
place inside one of the map extensions (Map Posters, Star Map, Route Visualizer) and the answer is
not already cached on your site. Sent server-side: the place name you typed, the number of
results wanted, the language for the answer, and a user agent line that identifies the plugin with
its version and contains your site address, because the Nominatim usage policy requires requests to
identify themselves. No API key, no account, no personal data. Results are cached on your own
server.
Privacy policy ·
Usage policy
Hosts overpass-api.de, plus the mirrors overpass.kumi.systems, overpass.private.coffee and
overpass.osm.jp, which are tried one after another if the first does not answer. When only
when a map extension actually draws a map and the geometry is not already cached on your site.
Sent server-side: a query containing the coordinates of the map section you are drawing, the
requested level of detail, and the same identifying user agent with your site address. No API key,
no account, no personal data. The street, water and park geometry that comes back is cached on your
own server. Map data © OpenStreetMap contributors, ODbL.
Privacy policy ·
Terms
Host api.meshy.ai, and the download addresses it returns. When only if you have
entered a Meshy API key and you generate a 3D model in the 3D Objects studio. Sent
server-side: for text to 3D the text prompt you typed together with the generation settings, for
image to 3D the image file you selected, and in both cases your Meshy API key. Your site then asks
Meshy repeatedly whether the job is finished, and when it is, downloads the finished model file and
its preview picture into your own site. The connection test in Settings asks for your account
balance and sends nothing but your key.
Privacy policy ·
Terms
Host huggingface.co. When only when an administrator presses the download button
for a local AI model under Settings, WunderPaint, Local AI Models. Sent a request for the
file list of that model repository and then a request per model file. No API key, no account, no
site data, no personal data. This is a one-time server-to-server download; afterwards the model
files are served from your own site, and the in-browser AI runtime is configured never to fetch
models remotely, so the browsers of the people using the editor do not contact Hugging Face at
all.
Privacy policy ·
Terms
Hosts fonts.googleapis.com, fonts.gstatic.com. The plugin ships ten font families with it and contacts no font CDN by default. Google is contacted only in the two cases you choose yourself:
Exported images are unaffected either way, because text is rendered into pixels on your side.
Privacy policy ·
What Google Fonts logs
Host any address you type. When only when you point a dynamic layer or a repeater at an RSS or Atom feed or at a JSON endpoint, for example a podcast feed, a YouTube channel feed or the now-playing endpoint of a web radio. Sent server-side: a plain request for exactly the address you entered, so that host sees your server's IP address and nothing else from your site. The answer is analysed on your server and cached there briefly. No data of yours is transmitted, and no such request happens unless you enter an address.
Not a third-party service, but worth naming: if your Media Library is offloaded to external storage, opening such an image in the editor makes your site fetch that file from your own storage address server-side. This only ever concerns attachments of your own site that the current user is allowed to edit.
Host api.freemius.com. When only in WunderPaint Pro, which uses Freemius as its
license and payment provider: when you activate or deactivate your license, when WordPress checks
for a Pro update, and when it downloads that update. Sent your license key, your site address
and the plugin and WordPress versions. Freemius also offers an opt-in screen on first activation
that would additionally share your administrator email address and basic environment data; it tells
you exactly what it sends before you decide, and you can skip it and keep using Pro. The free plugin
does not contain Freemius at all.
Privacy policy ·
Terms
Host delivery.wp-image-editor.com. When only in WunderPaint Pro, when you install a
premium extension from the Extensions manager. Sent server-side: the slug of the extension
you picked, your license key and your site address, so the server can check that the license covers
the download. Received the extension ZIP, which your site installs. Nothing about your
content, your images or your users is transmitted.
Privacy policy ·
Terms
The runtime behind the local AI features (ONNX WebAssembly and transformers.js) belongs to the plugin instead of being pulled from a CDN, so Background Removal, Smart Select, Depth Blur and local alt text run entirely in your browser and your images never leave it. The only external touch is the optional one-time model download described above.